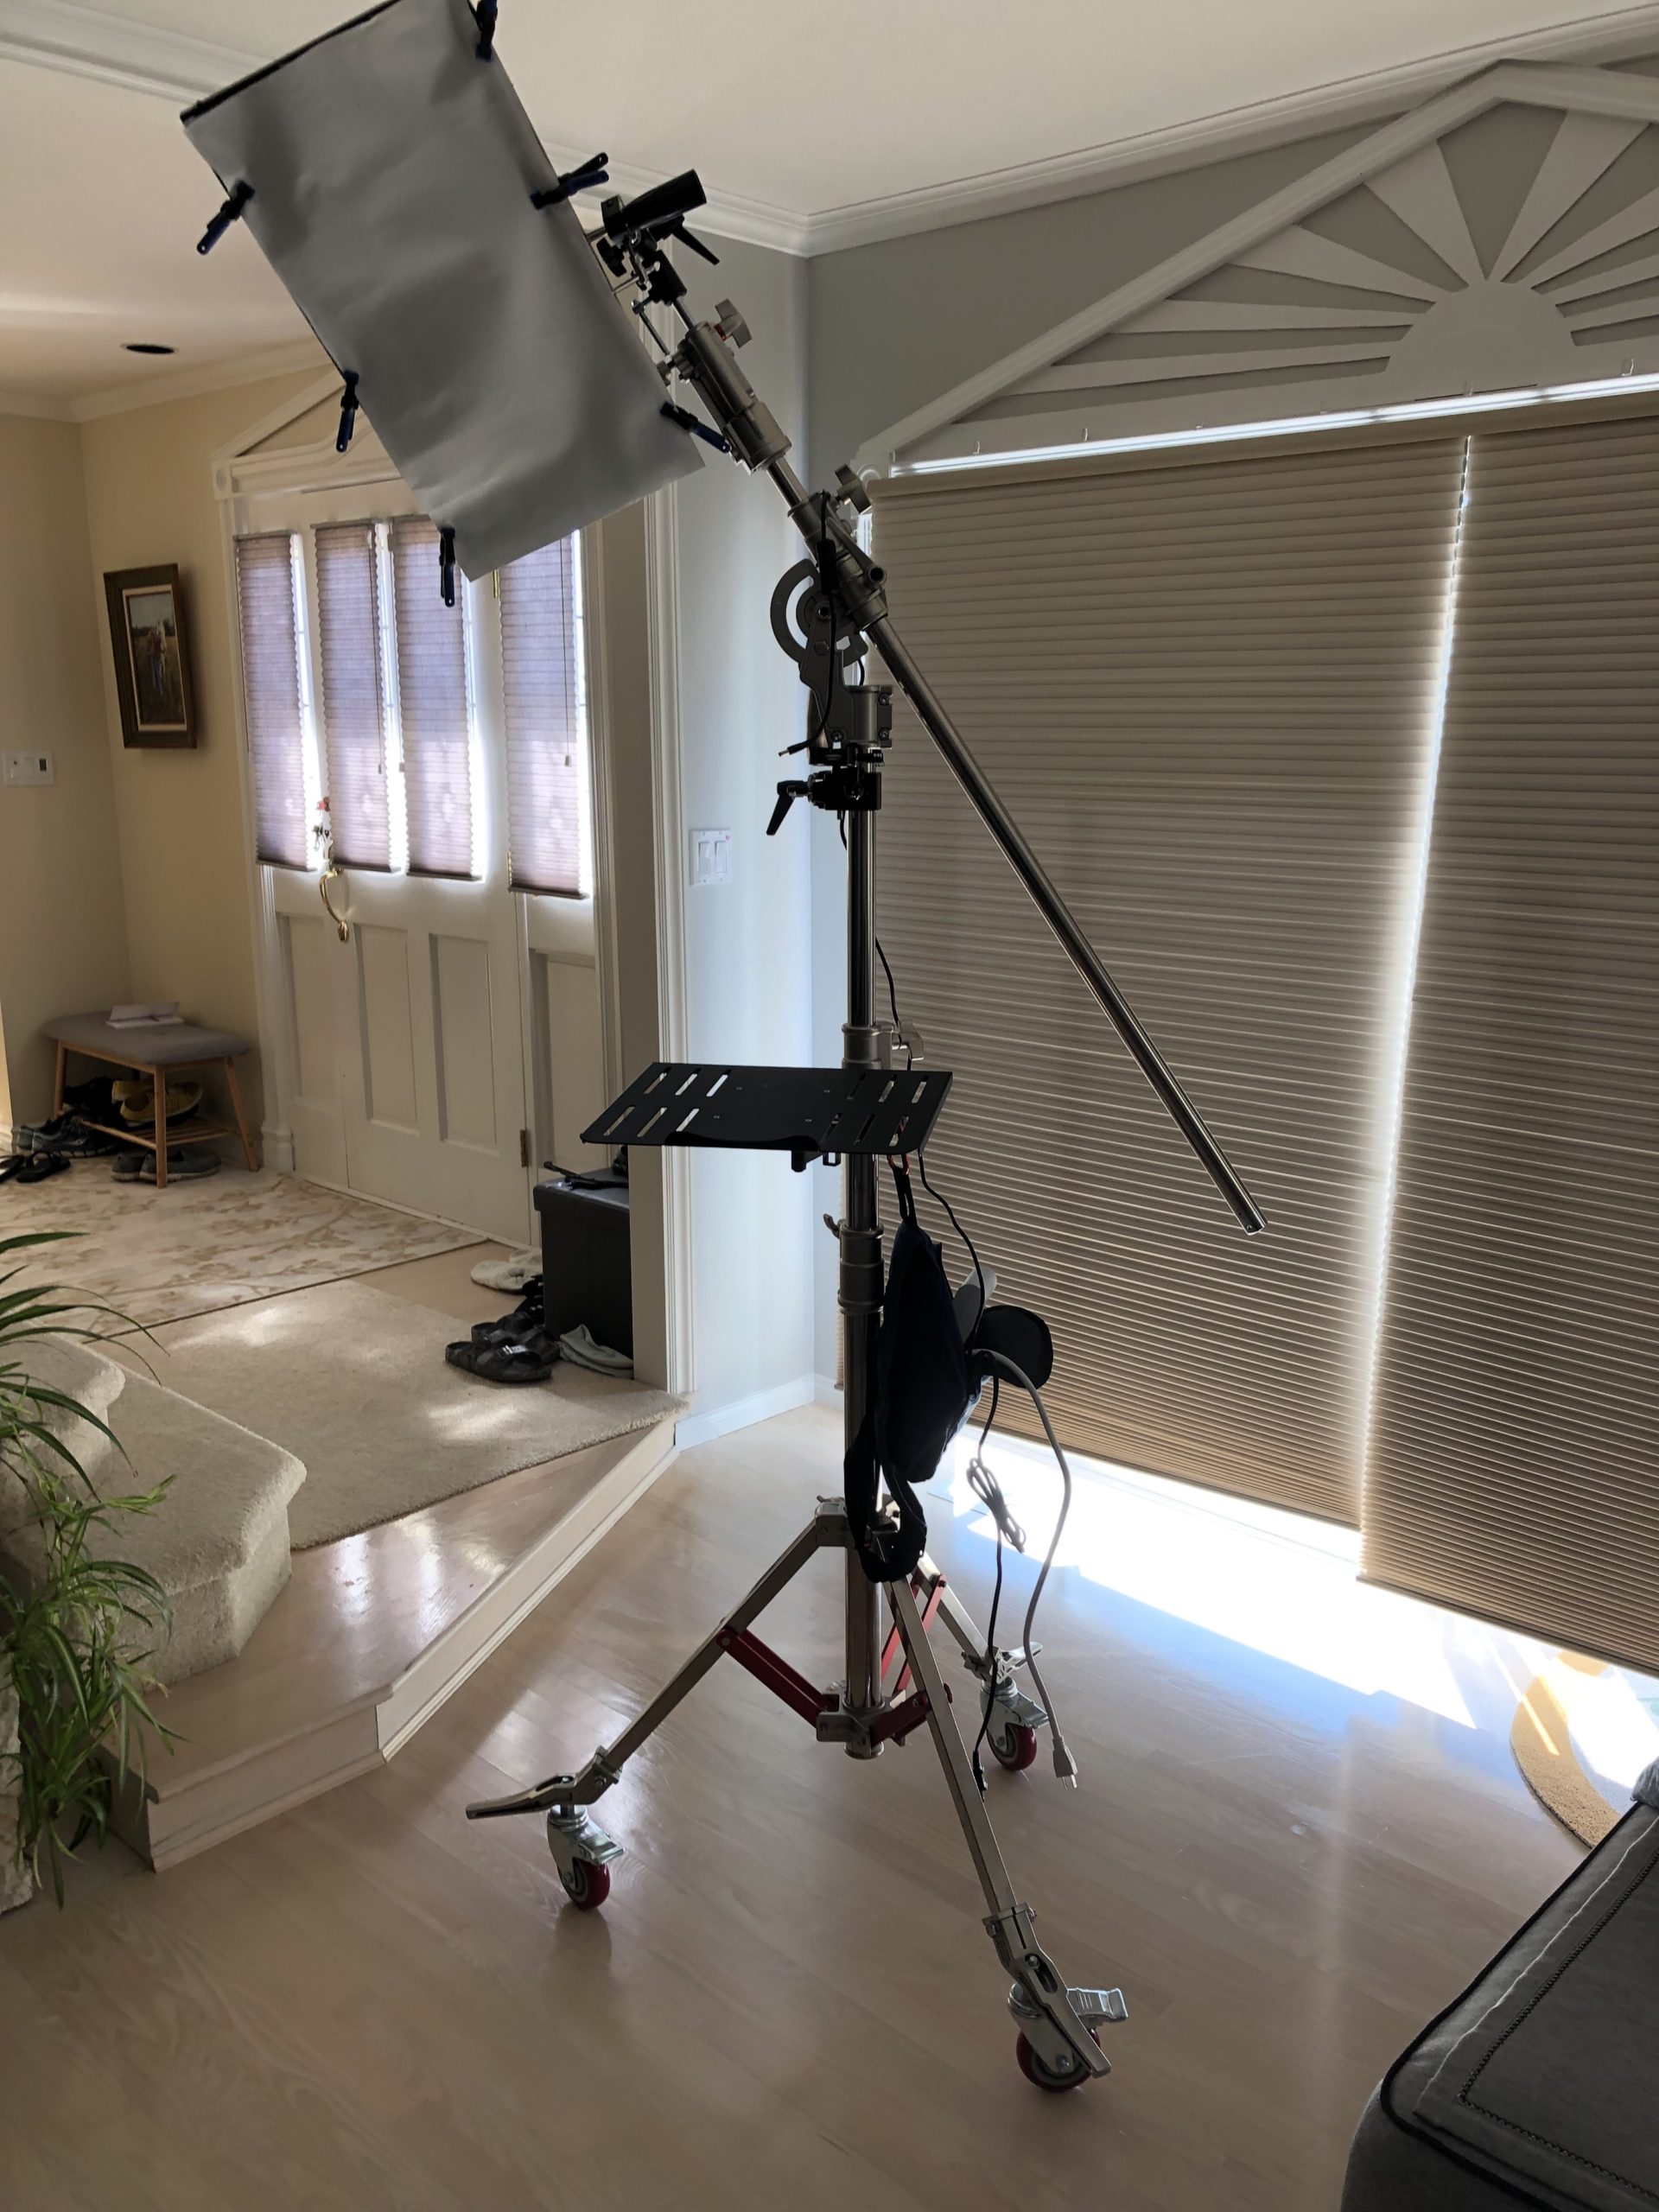
Ever since I watched the DSLR Video Shooter – Full Youtube Studio on ONE SINGLE STAND! I knew that if or when I had the space that this would be my next video setup. Since we moved in July I now not only have the space I have several different settings that I can use my video setup on a single stand.
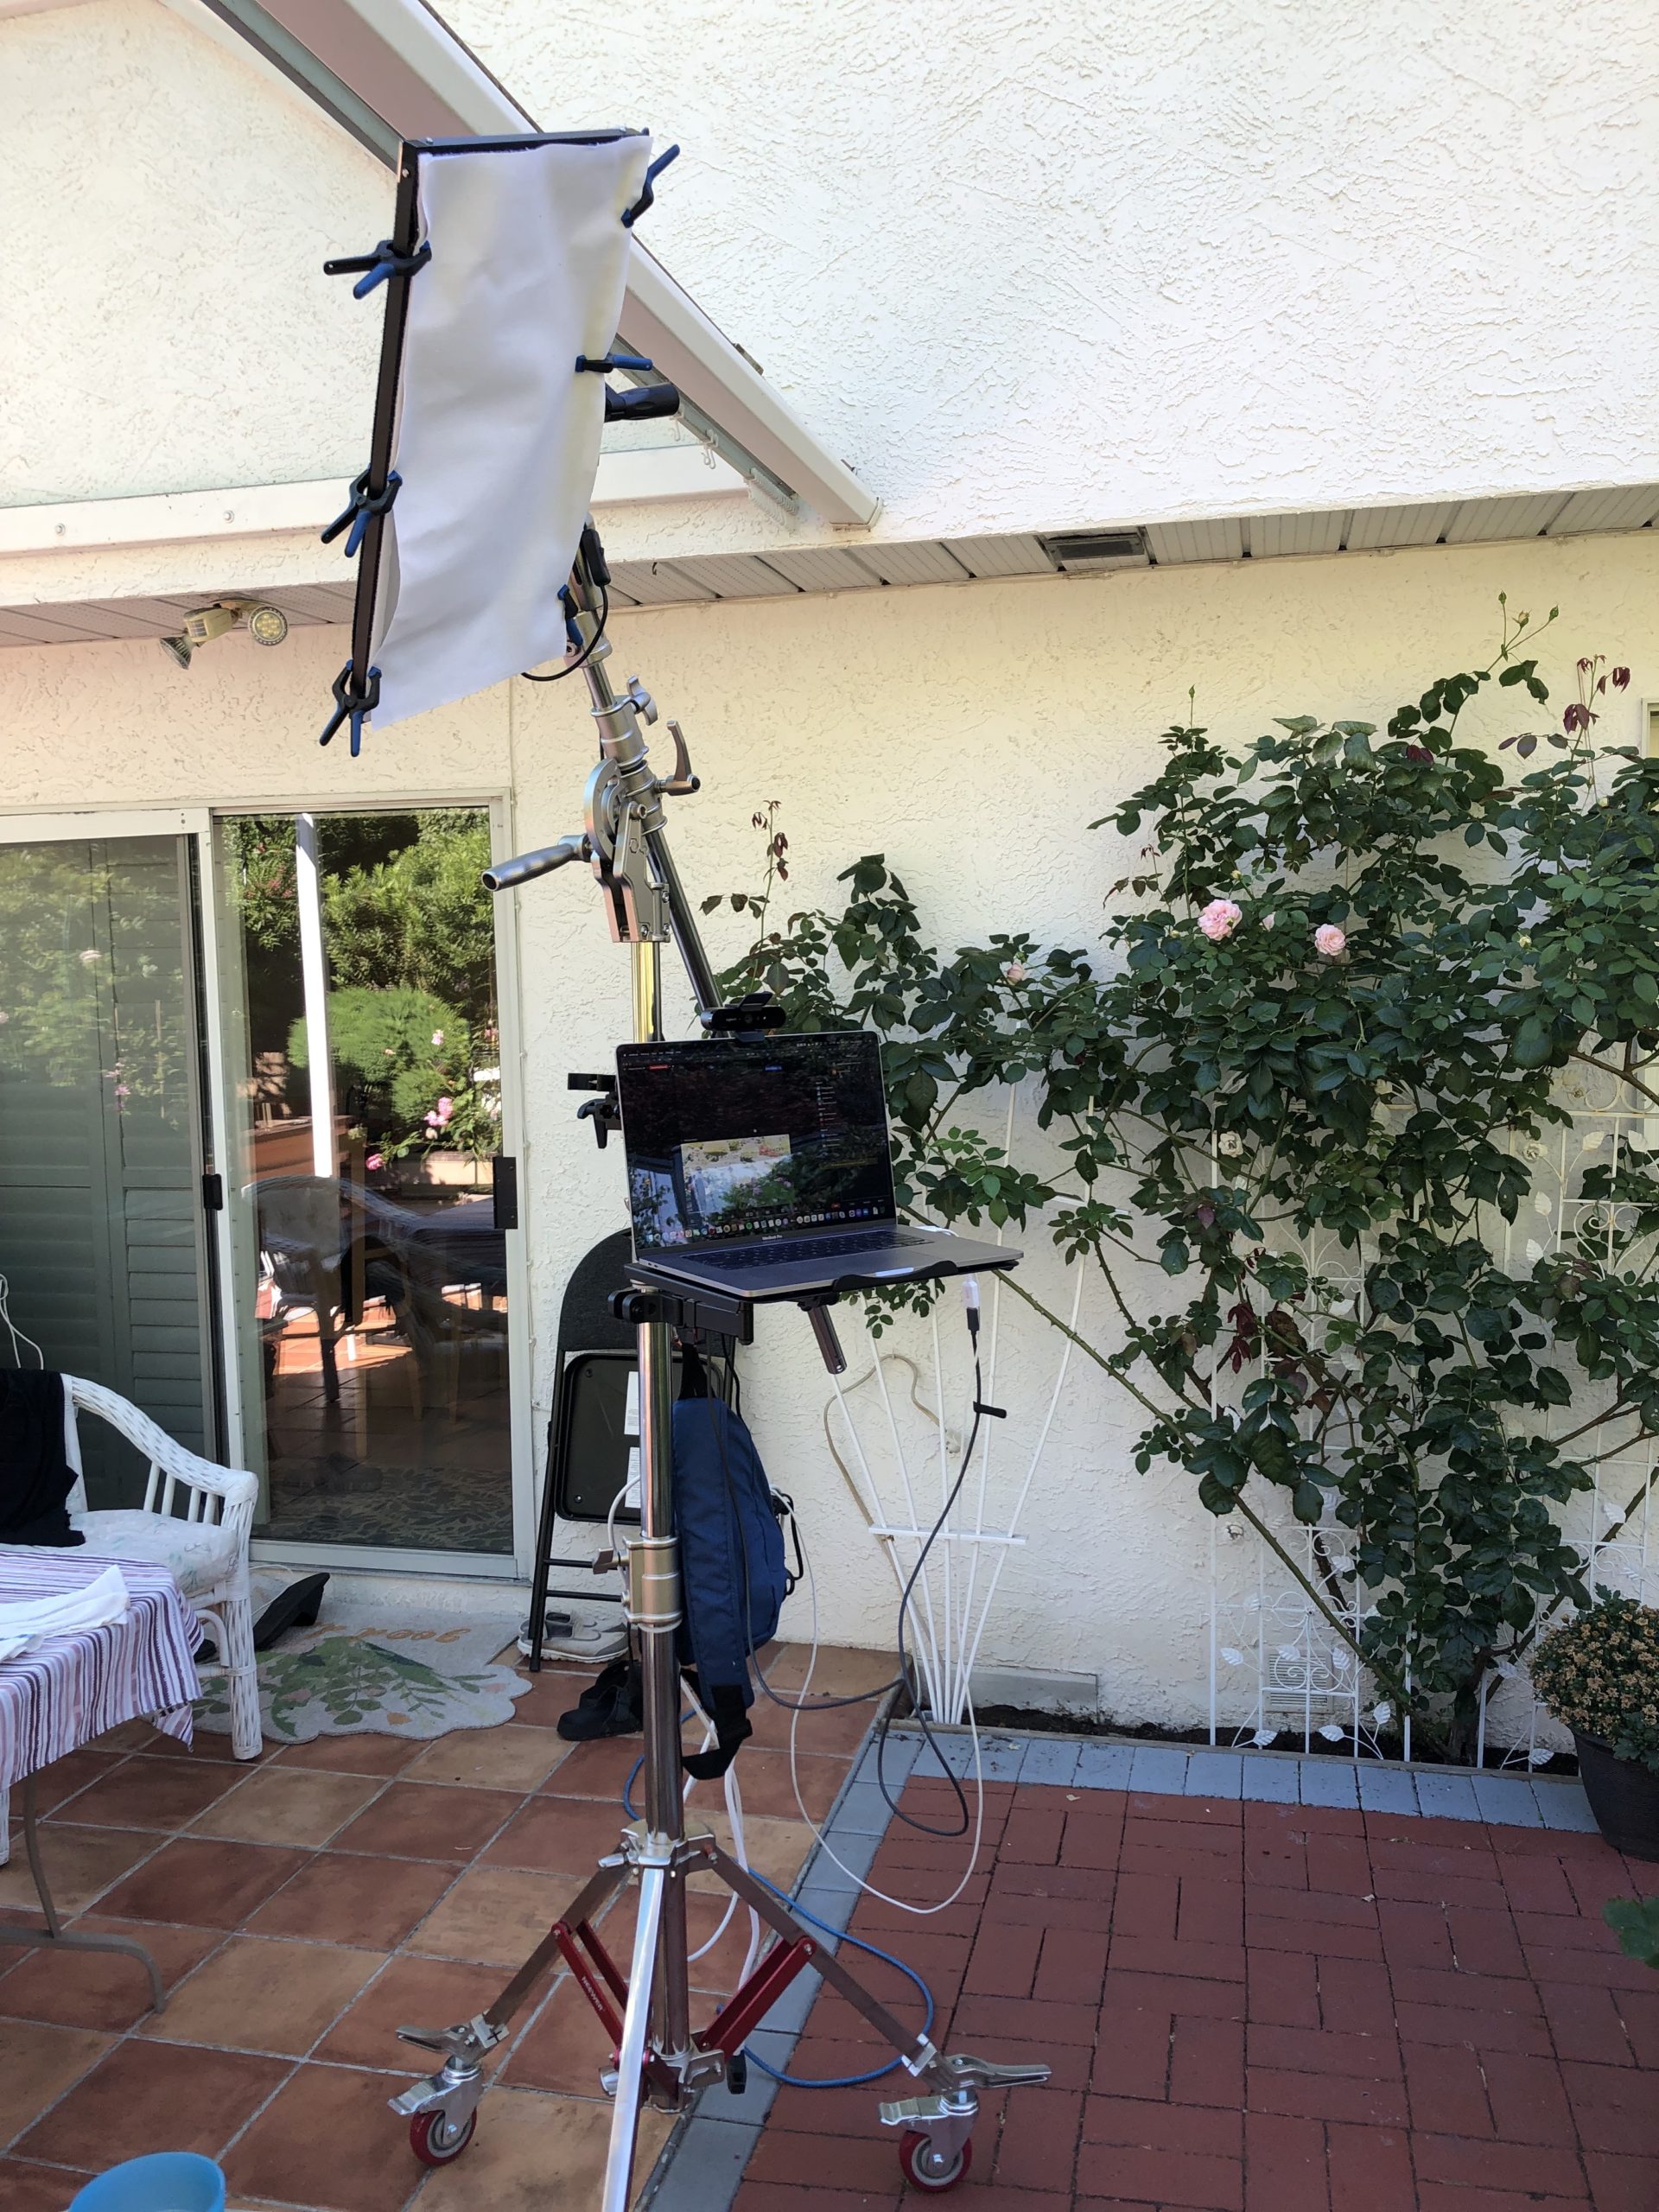
I have just started testing the setup and the following is how I used this stand in my backyard to run a class meeting. I have an assortment of options on how I can configure this stand since I have used Manfrotto super clamps and other higher-end accessories. I went with a bit heavier stand than what Caleb in the DSLR Video Shooter video had recommended and while the weight and size are a bit of an issue the stability and ease of use are great. I wanted to have a stand that I could use in as many settings and my initial tests are confirming the heavier stand was a good choice.
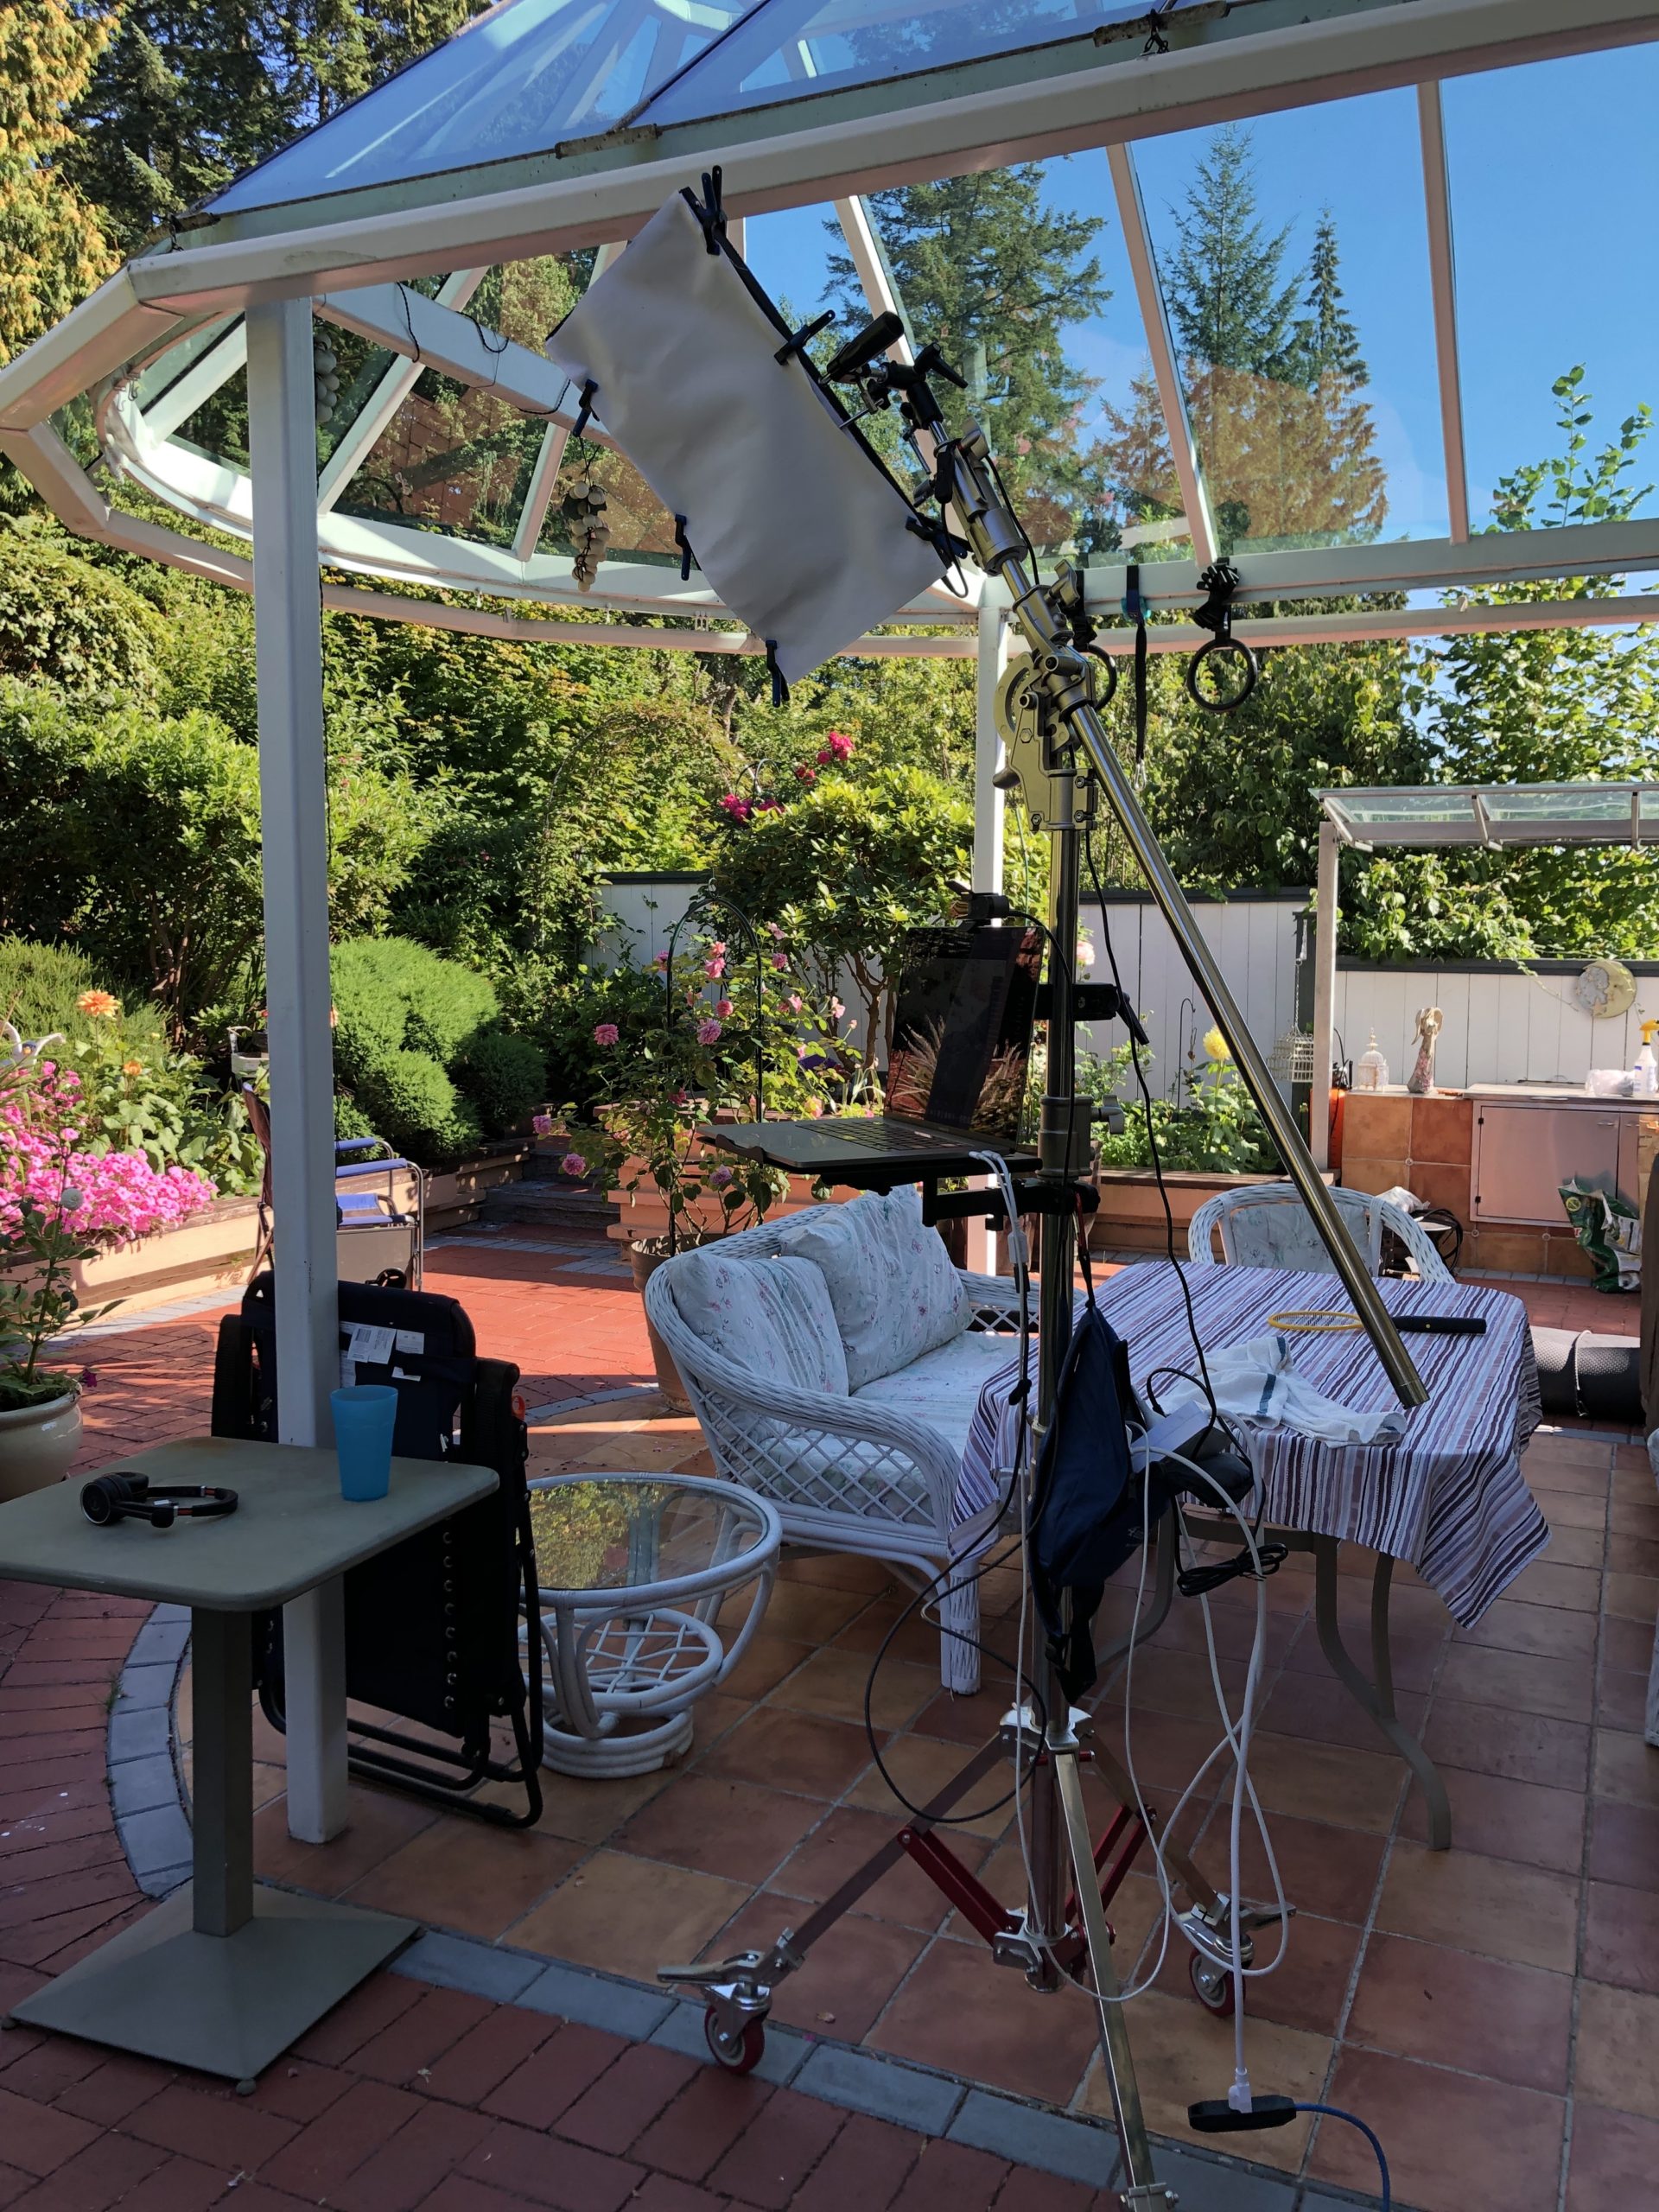
We have an amazing backyard and garden so while I can, I am enjoying the sun and shade and will be running my class meetings and shooting my next few series of instructional videos outside.
I will be recording several videos for some new courses I am developing so I will be testing out this stand and will be experimenting with a variety of configurations. Adding my DSLR and teleprompter will be as easy as clamping on another super clamp and ball head and then adding the camera.
Once I get things sorted out I will be adding another section to my Dwayne’s DIY Video Setup series. Looking forward to sharing what I learn.
If you just want to jump ahead to my recommendations for your audio click here. Or if you want to understand why I use this setup continue reading…
In that past several years that I have been making videos, I have been using the Blue Yeti microphone as well as an assortment of USB headsets. The Blue Yeti has served me very well for the past 8 years but the USB connector at the base of the mic is starting to wear and occasionally the connection doesn’t work. The connectors are the most common place were audio equipment fails so this is not surprising. Rather than take the Blue Yeti in to be repaired I have decided to step up from USB to XLR which opens up a world of options for improving my audio. Due to a recurring sinus problem and a subsequent surgical procedure to correct the issue, my already rough and raspy voice has become even rougher and raspier so having the ability to control my audio is important. The drawback of moving to XLR based audio is that the options are virtually limitless and the costs rapidly climb. It has taken me a few months of investigation and experimentation to find the right balance between getting Mics, audio interfaces, and accessories that will do what I need, give me the options I need, while not breaking the bank. I also don’t want or need to become a sound engineer to be able to use this new audio equipment.
Since the microphone (mic) is perhaps the most important part of your audio set up this is where I will begin. After scouring dozens (if not hundreds) of blog posts, podcasts, and YouTube videos on setting up audio for podcasting and Youtube videos I learned that most blogs, podcasts, and Youtube videos repeat the information that a few key individuals share. I have managed to narrow down my sources to those few key YouTubers who are actual professionals rather than wannabes echoing or parroting the experts. I also have some experience working with audio when my boys were in a band a few years back so I have some practical experience to help me discern what is useful and what isn’t.
Whenever you are purchasing any type of audio equipment you really need to look at the environment in which you will be using the equipment and be very clear about what you plan to do. Since my office is in a corner of our living room there, unfortunately, can be background noises that need to be filtered out. This is a really important factor in deciding what type of mic you will need to get. The ideal mic for video or podcasting if you have the luxury of a very quiet space or a soundproofed studio is a cardioid condenser Mic which is much more sensitive and can give you a richer and full sound without having to rely on the proximity effect (getting real close to the mic). If you are in a noisier environment like mine, then you will want to get a dynamic mic which does a really good job of filtering out background noises but if you stray from mic’s sweet spot which is directly in front of the mic and as close as you can get you will have significant drop off in your audio volume and quality.
One last factor that you should take into account before you purchase a mic is to consider if you will be the only person you will be recording and you do not see the need to add an additional mic to your setting or workflow. If you will only be working on your own then you really don’t need to move up to the XLR and can simply rely on the USB mics and your computer’s audio interface. However, if you plan to add another voice or you want to start moving up to more professional caliber equipment then the following information will be helpful.
Both of my boys are working with social media in their professions and their businesses. My older son recently started a podcast and will be interviewing people face2face and online so having the ability to multipurpose or share audio equipment with my boys is important. This will also mean that the equipment that I will be using will need to be more robust and flexible to handle the portable nature of face2face interviews and the diversity of setting in which the equipment will be used. I also don’t want to duplicate all the equipment so finding a mic that will work with both USB and XLR was important.
I initially considered upgrading to the USB/XLR Blue Yeti because of the success I have had with my USB Blue Yeti but the cost of this mic put it into a category of some other really good equipment options. Rather than spend the $350 just on one mic, I found that I could get 2-3 other mics and an audio interface for my office for less than the cost of the USB/XLR Blue Yeti. I also needed to have more than one person connect at a time so purchasing two Blue Yeti Mics put the cost up much too high and while these are great Mics they aren’t the most portable. They are quite large, heavy, and I don’t think they are as robust as some other Mics.
My research revealed that one of the best dynamic mics was the Shure SM58 which is a mic that is used by many musicians, voice actors, and podcasters but this mic does not offer a USB connectivity so it did meet my initial criteria. I am still planning on getting a Shure SM58 but plan to purchase one used since these are almost indestructible mics and you can find them for sale used for significantly less than full retail on Craiglist.
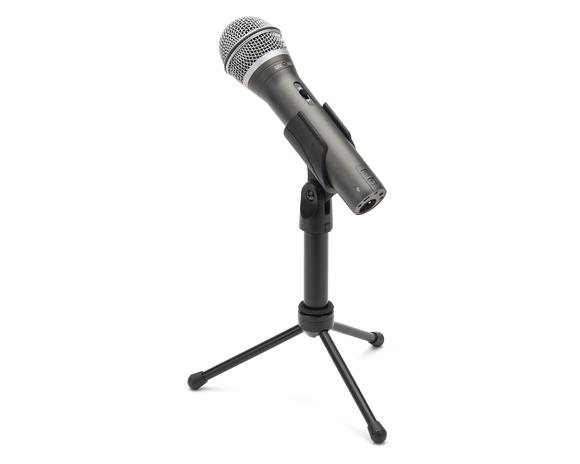
Next to the Shure SM58 the Audio Technica 2100 and Samson Q2U have very positive reviews by the Youtube and podcasting community, offer both my USB and XLR connectivity, and are reasonably priced. Both these mics are almost identical and the Samson Q2U is more available outside the US and is also a bit cheaper. Both mics come with a USB and XLR cable, windscreen, and tabletop stand so you have almost everything you need to get started. Since you can’t connect the XLR mic directly to your computer you will need to an audio interface.
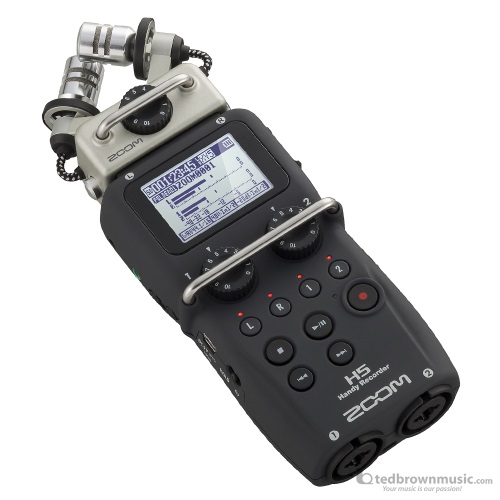
Zoom H5
I decided to go with the Zoom H5 mobile recorder because it not only gives you mobile mixing and recording it has the ability to function as an audio interface so you can also connect this device to your laptop in your office or studio setting. There is also the option of running the H5 as the preamp and connecting directly to a DSLR, so this audio device offers many options for both the studio and mobile setting. Zoom has a range of recording/audio interface options so narrowing the choice down to the Zoom H5 came down to considering my current and potential needs. I wanted the best quality sound so I knew from the research that the older and less expensive Zoom H4N Pro didn’t offer as cleans sound as the new and more expensive Zoom H5 or H6. The H5 has the same pre-amps as the H6 so the recording quality is a good as the H6 but since we don’t need to connect up to 6 mics in a mobile setting we saved $200 by going to the H5. We also found the device used on Craigslist so we saved even more. The Zoom H5 comes with 2 XLR inputs and we can easily purchase a the XLR extender if we need to add two more inputs. Finally, the device is designed for mobile use so it is quite small and takes up very little space on a desk.
While my original plan was to just use the Zoom H5 for both my office and mobile needs I stumbled across a deal on Craiglist that I couldn’t refuse. When I was looking for a used Shure SM58 Mic I came across a BM-P800 mic and the Behringer U-phoria UMC22 audio interface for just $40 for the set which is a 1/4 of the cost of both of these devices new. The BM-800 mic is a condenser mic which I wanted to experiment with that is relatively cheap but performs as good as mics that are considerably more expensive so this was a positive. The other positive is that the Behringer U-phoria UMC22 audio interface enables me to set up a more permanent audio connection in my office. I don’t need to use the Zoom H5 as an interface and can keep that as part of my mobile kit. If I didn’t have the need to do some mobile recording I would have purchased the Behringer U-phoria UMC22 audio interface because it gives me everything I need at a very low cost so this deal for both the mic and the audio interface was a blessing. I have also noticed that there are lots of people who have lost interesting in podcasting or are upgrading to better equipment so there are lots of deals on Craiglist. The only issues are having to wait for the right deal to come up. If you have the time this could be a way to save lots of dollars.
The final piece of my audio upgrade is the mic arm and stand. Because I have a tendency to talk with my hands will tap on my desk which is easily picked up by a condenser mic a shock mount is also required. I have been experimenting with a variety of mic arms and have narrowed things down to two different stands. Still not sure which one will work the best but lately I have been using my Kick Drum/Amp mic stand more than the Neewer NW-35 Metal Suspension Boom Scissor Arm Stand. The Kick Drum/Amp mic stand is intended for micing a kick drum or amp so that it doesn’t have that much height which works well in my office. I am using an Ikea Lack side table for my standing desk and since it isn’t secured to the main table top I am able to move it to one side when I want to use my Teleprompter. Since the Kick Drum/Amp stand isn’t secured to anything but has a small weighted based I can easily move it to the side. The scissor arm stand is convenient to use as well but it has to be secured to the Lack side table and I have found it can get in the way. Depending on your situation either option will work well. Recommended equipment: Samson Q2U or Audio Technica 2100 Behringer U-phoria UMC22 (only if you want to use XLR) Zoom H5 mobile recorder (only if you need a mobile option) Kick Drum/Amp mic stand Neewer NW-35 Metal Suspension Boom Scissor Arm Stand (comes with a shock mount) Knox Microphone Shock Mount for Audio-Technica ATR2100-USB
After a lifetime of engaging in what is commonly referred to as DIY (do it yourself) projects, I knew I was going to have to review the parts list in my DIY Teleprompter project before I could pass on an updated parts list to a colleague. Why? Unlike going to Ikea that will provide not only detailed instructions and all the necessary components for what you need to assemble, DIY projects involve finding a variety of parts that may be used for a variety of purposes and modifying those parts to serve an entirely new purpose. So when I reviewed the 15mm rod support and baseplate system for my DIY teleprompter I quickly learned that it was no longer available from Amazon. My experience of sourcing these types of projects led me to check and see if all the parts were still available. After searching for and exploring a wide assortment of alternatives I realized that the best that I could do is provide a list of parts that I would more than likely use if I were building my DIY Teleprompter from scratch today.
DIY projects by their very nature require exploring and considering a wide assortment of options in order to create or build a project that can address your unique needs. There is no right answer. There is no quick fix. There is only inquiry, exploration, and trial and error. Unfortunately, most people do not have the learner’s mindset that will enable them to do this sort of problem-solving. We quench this type of exploration and experimentation out of our students with a steady diet of recipe and regurgitation followed by standardized testing.
Fortunately, the DIY movement is strong on the Internet and there are a small number of people willing to explore, experiment and find alternative ways to do it themselves. The rebels or mavericks who are willing to look for a better way, a different way, or simply a cheaper way to solve a problem will keep the DIY movement alive. We are also seeing this type of mindset supported through the maker spaces which are taking the place of shop classes of old. We can also help to keep DIY alive by supporting the learner’s mindset that comes out of creating significant learning environments that give learners choice, ownership, and voice through authentic learning opportunities.
The video should give you a relatively good overview of the DIY Teleprompter and how it can be used. The following pictures and brief explanations are intended to augment the video and give you an idea of how you can construct a similar teleprompter. I must warn you that I am not offering a detailed recipe or plan for building your own teleprompter. Why? Over the years I have found that the more detailed plans are the more frustrating they can be when they leave out that key bit of information. I don’t want to frustrate you so I am keeping the instructions general. In addition, I can’t recall a time when I didn’t modify someone else’s plan to fit my unique circumstances. I watched several DIY teleprompter videos and would not recommend any of them individually but I managed to glean bits of information from a variety of different videos. I suggest that after you watch this video and review this page you may want to watch some additional videos on YouTube to make the teleprompter your own.
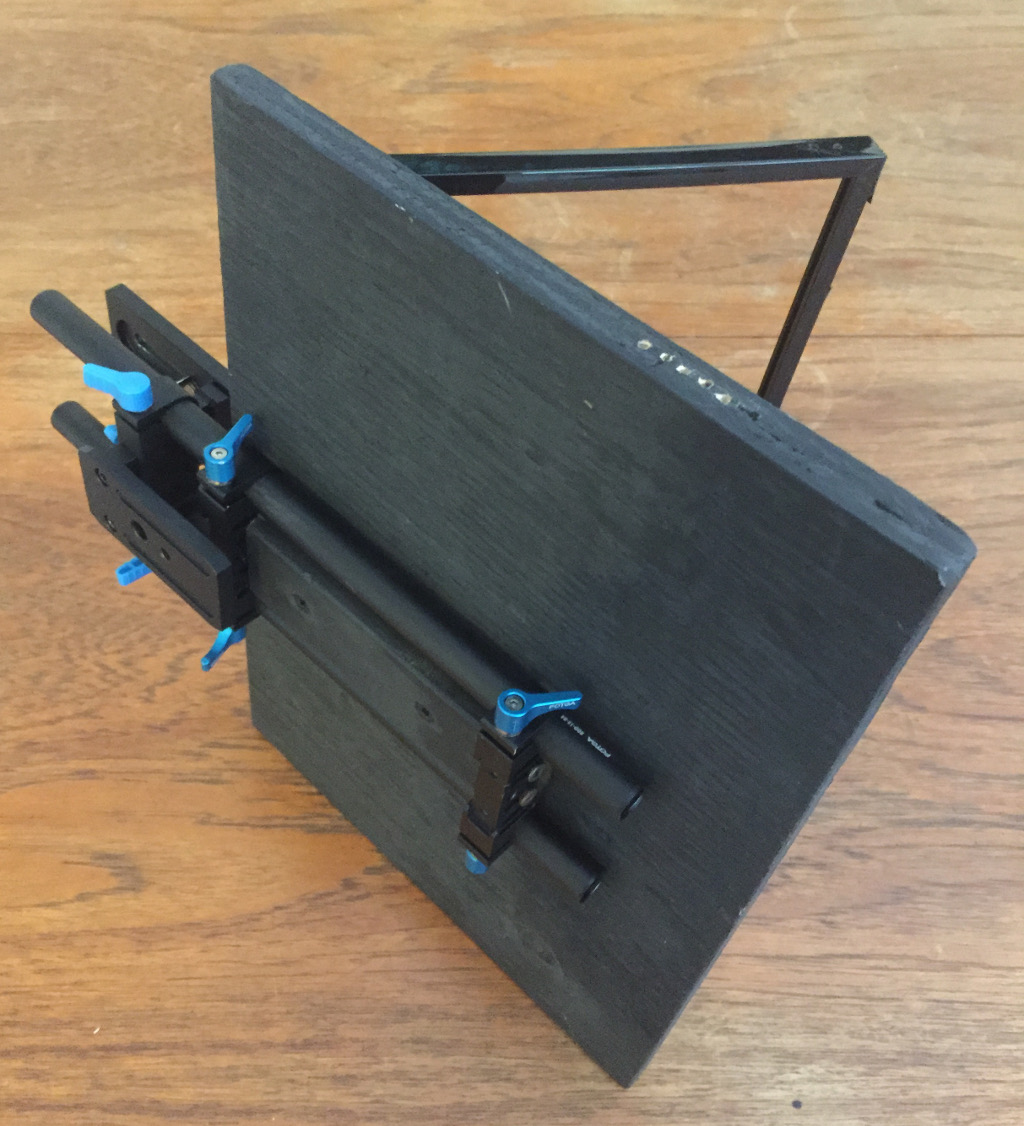
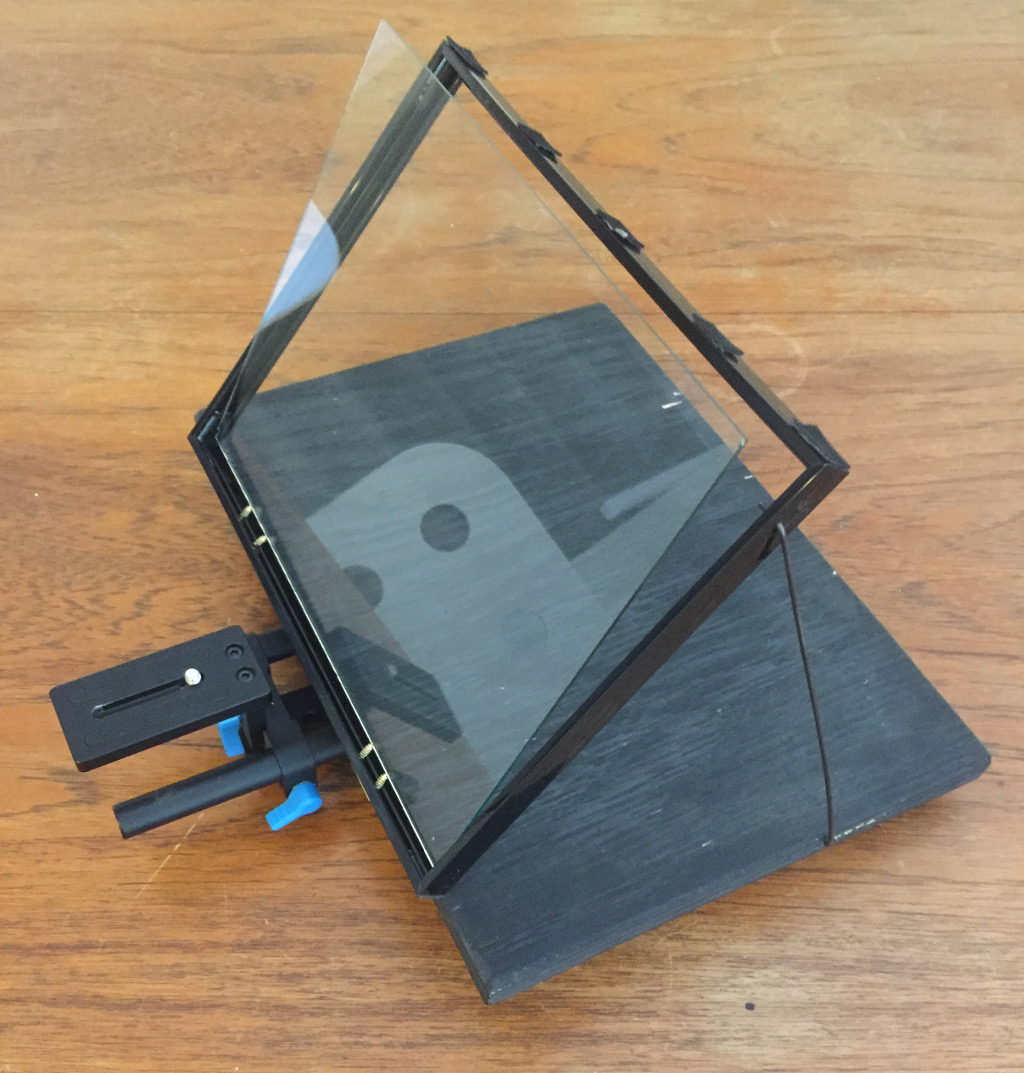
The teleprompter base is a piece of 1/2 plywood cut to be a bit larger than the 8X10 plastic picture frame which is used to hold the glass. These two parts are connected with a couple simple hinges and the whole assembly is attached to a standard type DSLR rail system
The multiple small holes allow me to adjust the angle of the Teleprompter screen.
There are many different types of rail systems available and since I wanted to have my camera connected to the teleprompter I needed a system that could allow me to mount the camera to the teleprompter and then mount the whole teleprompter to the tripod. How you connect the rail system to your teleprompter base will depend on the type or style of clamps and rails you purchase and how you intend to fasten the rail system to the base.
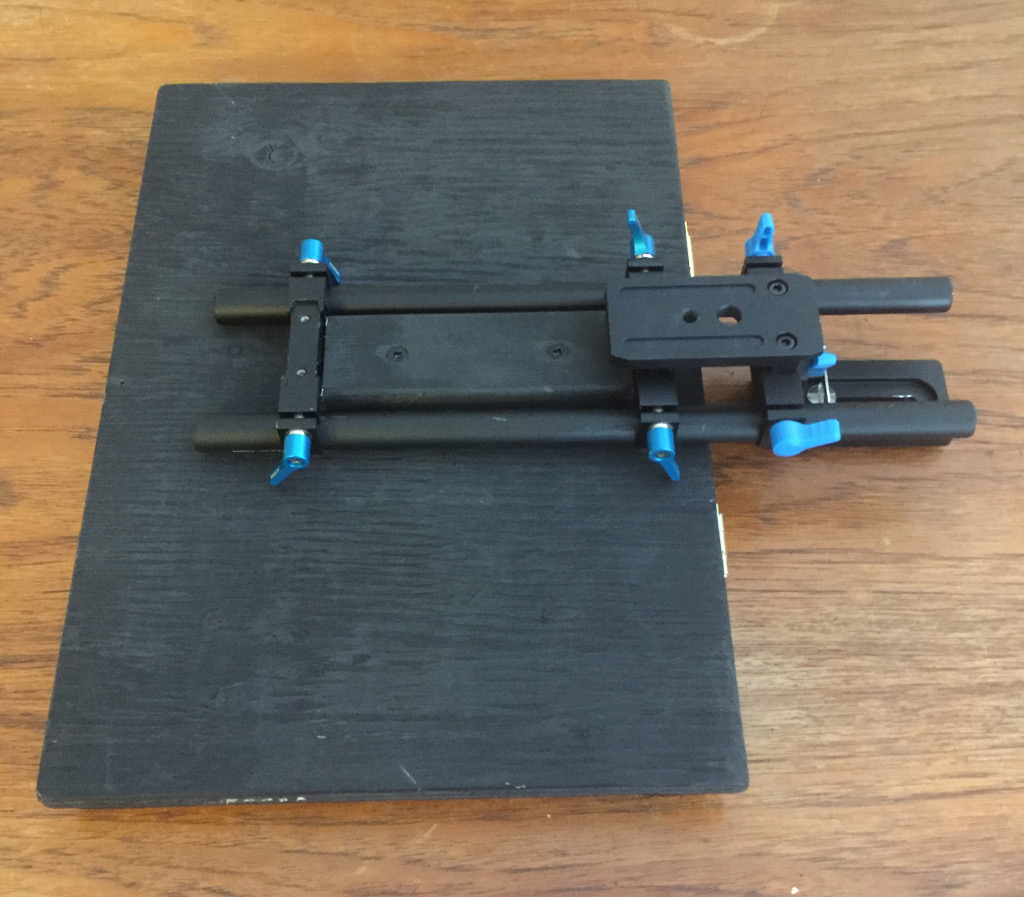
Because I wasn’t able to exactly what I was looking for at a reasonable cost I purchased the rod support baseplate, the rails, and the rail clamps separately. When you use a standard DSLR 15mm rail and rod system you can easily mix and match the components. Since the rails that came with the baseplate were not really long enough to handle the weight of the 1/2 inch plywood teleprompter platform, I simply ordered longer 15mm rails. There are so many different types of baseplates, rails, and clamps that you will be able to find what you need to secure the rail system to the teleprompter base if you are willing to experiment.
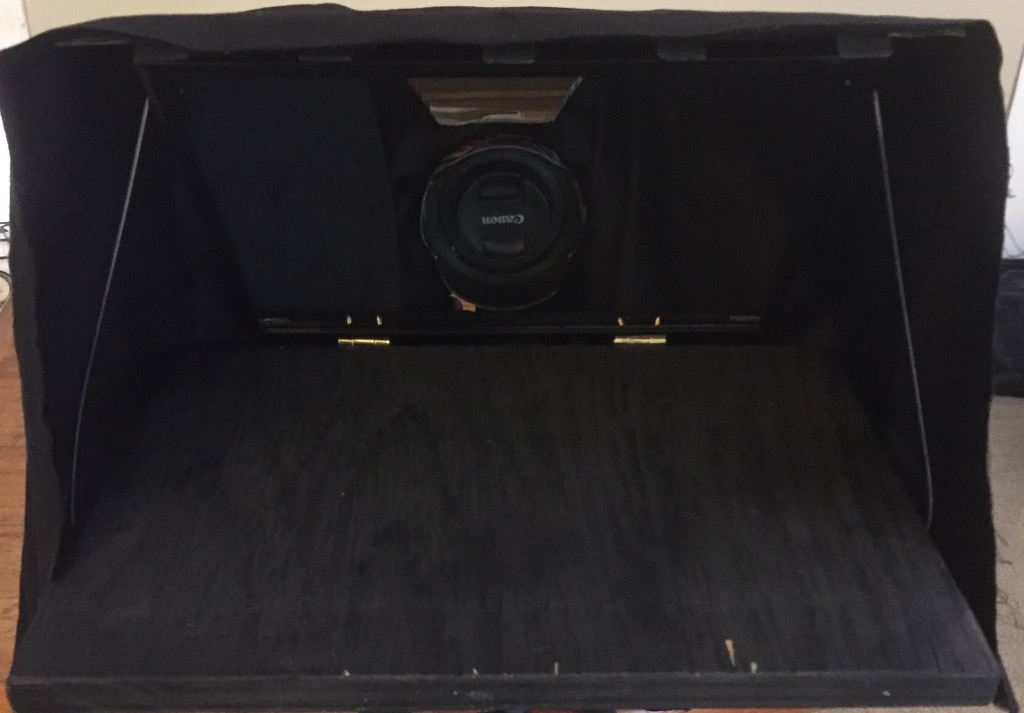
From this view, you can see the portion of the rail system that the camera will be attached to, the plastic picture frame, the velcro tabs for securing the black dark out cloth, and the spokes which form the support for the picture frame. Please note that there are several holes drilled into the base that allows for adjustment of the frame.
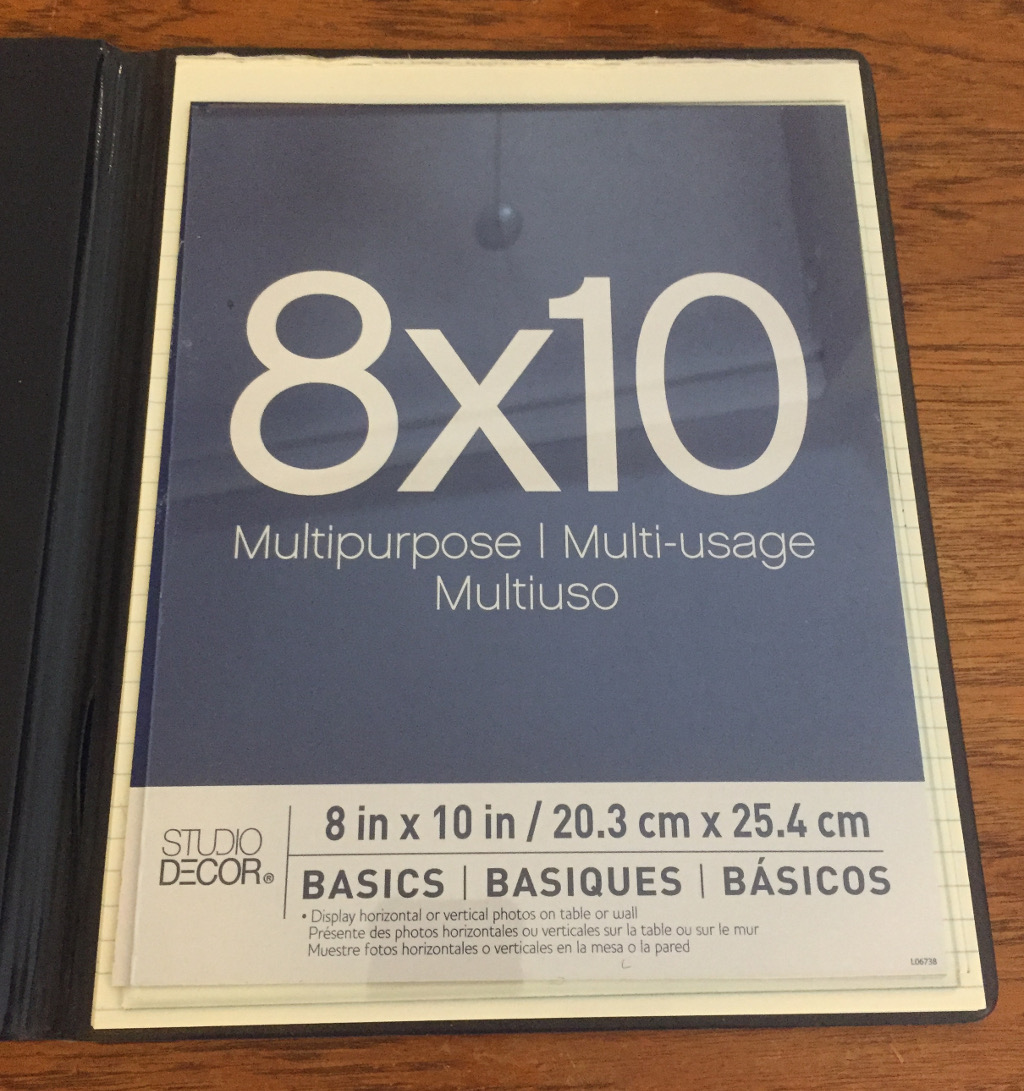
I store the glass when it isn’t on the teleprompter in an old letter sized folio.
In order for the teleprompter to work you need a piece of glass that will act as the reflector. Fortunately, you can still get an 8X10 picture frame at Michaels for approximately $10 that uses glass. Be careful, many picture frames are now coming with plastic which is not reflective enough and will not work properly.
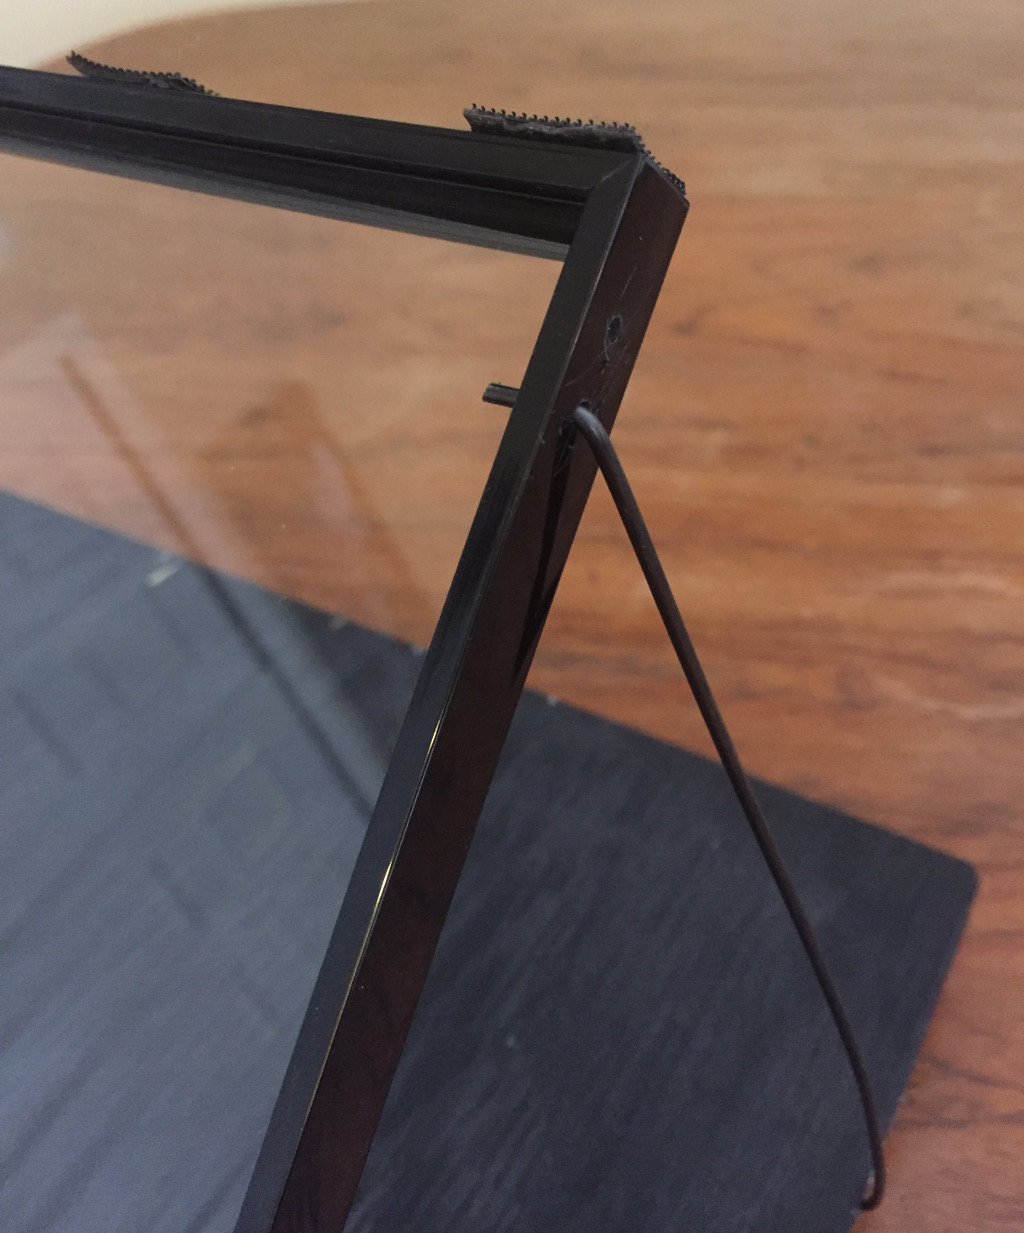
The bent spokes that are used to support the picture frame will also hold the glass in place – assuming you drill the holes in the right place. Similarly, if you position your hinges in the right place the screws on the hinges can act as stops to prevent the glass from slipping out.
The standard base will accept any DLSR or other cameras with a standard 1/inch connector. If the glass is clean you barely tell that it is even there. The whole teleprompter and camera fit nicely on the Manfrotto tripod with the Fluid pan head.
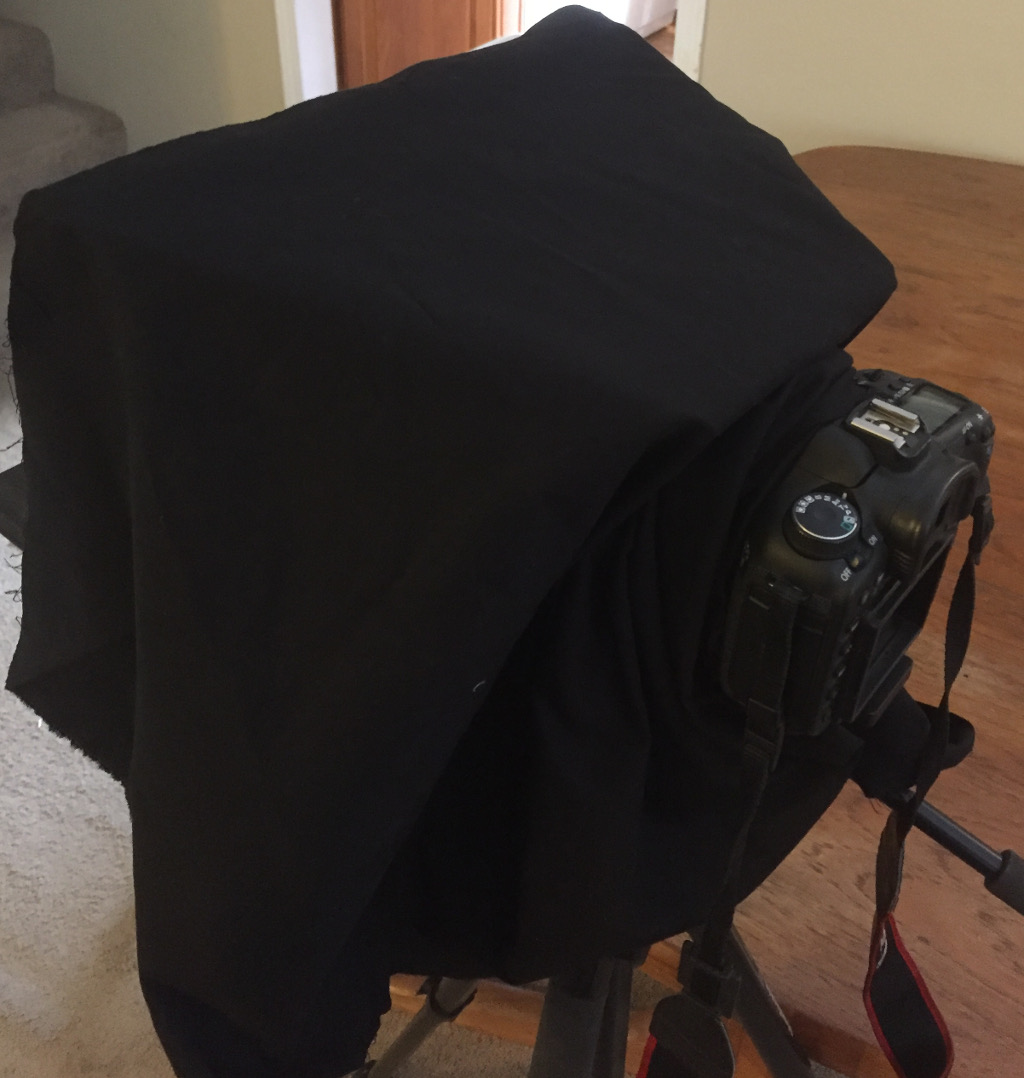
A simple piece of cardboard cut into a triangle and folded towards one end is just enough to keep the blackout cloth off the camera lens.
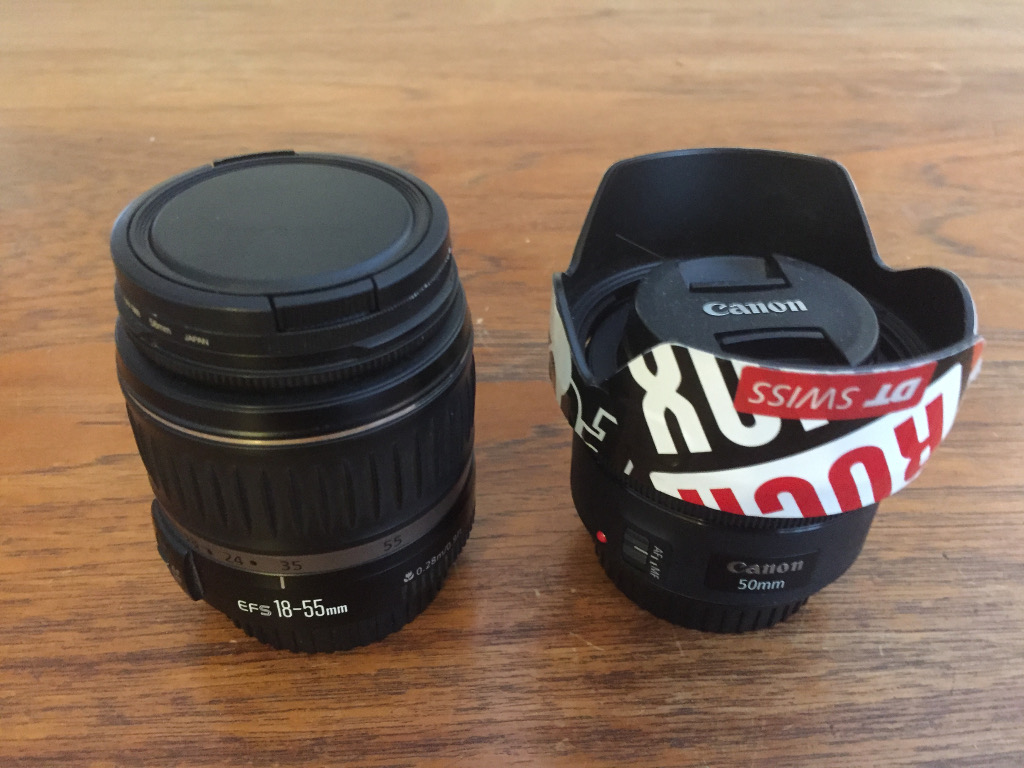
The fixed focal length 50MM lens is much sharper than the stock wide-angle to standard 18-55MM lens. If you don’t have a standard lens then the stock zoom lens that comes on most camera kits will work fine.
With a few small pieces of velcro, you can fasten a blackout cloth to the top of the teleprompter frame and then wrap the remainder of the cloth around the lens exposing enough of the camera body to use all the controls.
The lens is positioned so that you are looking directly at it when you are reading the words off the teleprompter.
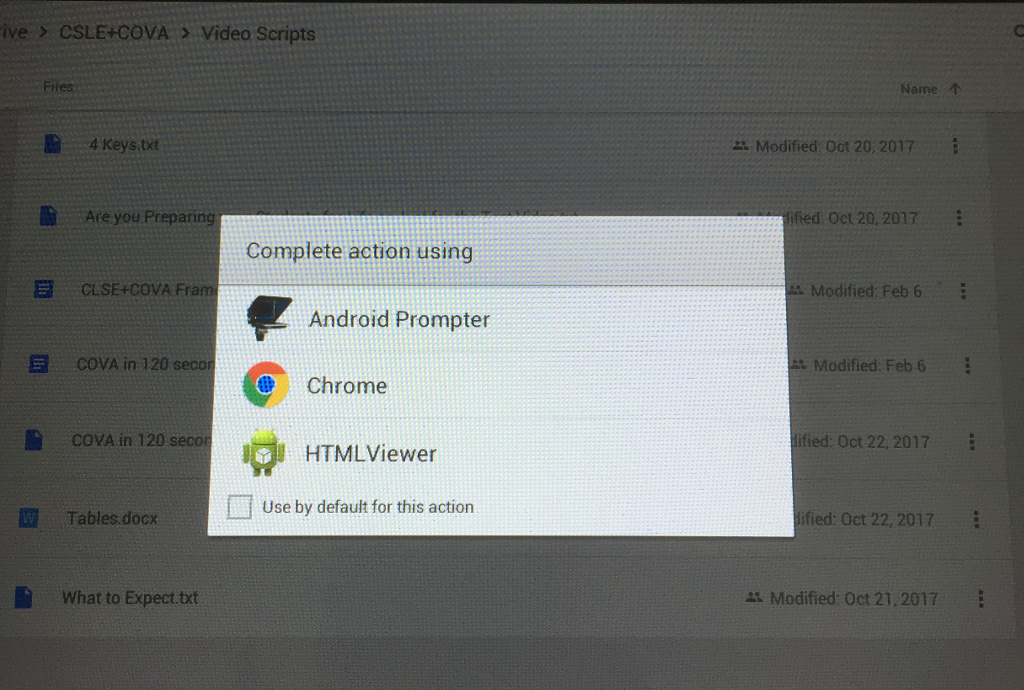
I am using Android Prompter because it is free and I happen to have an old Android tablet that is too old to use for anything else. I still haven’t found a fully functional free iPad prompter piece of software so I will be sticking with the Android Prompter software for now.
You will need to adjust Teleprompter software to the right size that you can read and also run at the right speed so that you aren’t talking too fast or too slow. This will require some experimentation to get the size of text and speed of the scroll just right.
When you factor in the hinges, paint, cloth, velcro and all the rail system components I spent less than $75 dollars which is a lot less than the $400+ that you can spend on entry-level commercial systems and have fewer features.