Archives For teleprompter

To Script or Not To Script…
The more instructional videos that I make the more I have learned to rely on scripts to ensure that I am conveying an effective message. I now use a script for the following:

  • 2-3 minute or less introduction, promotion, bridge video,
  • 4-10 minute overview, contextual, foundational, tips, video
  • 10-18 minute informational, TED Talk style of video

To estimate the time of my script I will often refer to the Voice Over Script Word Counter at thevoicerealm.com

Even in my long-form discussions I still work on an outline with my collaborator so there is some form of guide or script. When I create a Tips or Tutorial video and I use a tool like screencast-o-matic to insert my talking head into the video on the bottom corner of the screen, I will use the slide deck, website, article, document, or other resources I am explaining as the script. I also plan out what the key points will and what parts of the resources I will highlight.

The only time I don’t script is when I create the 2-8 minute feedforward videos I create for my students when I am giving them educative or formative assessment. But even in this context, I have a format that I follow so while I am conversational in my feedforward I still have a specific structure or a very loose script.

While I have spent most of my emphasis on why I script I cannot ignore why scripting, narrating, or as I like to say telling a good story can be powerful and transformational. I have been exploring these ideas for several years and the following posts have the potential to take you down quite the rabbit trail. Don’t worry it is a worthwhile journey:

Teleprompter
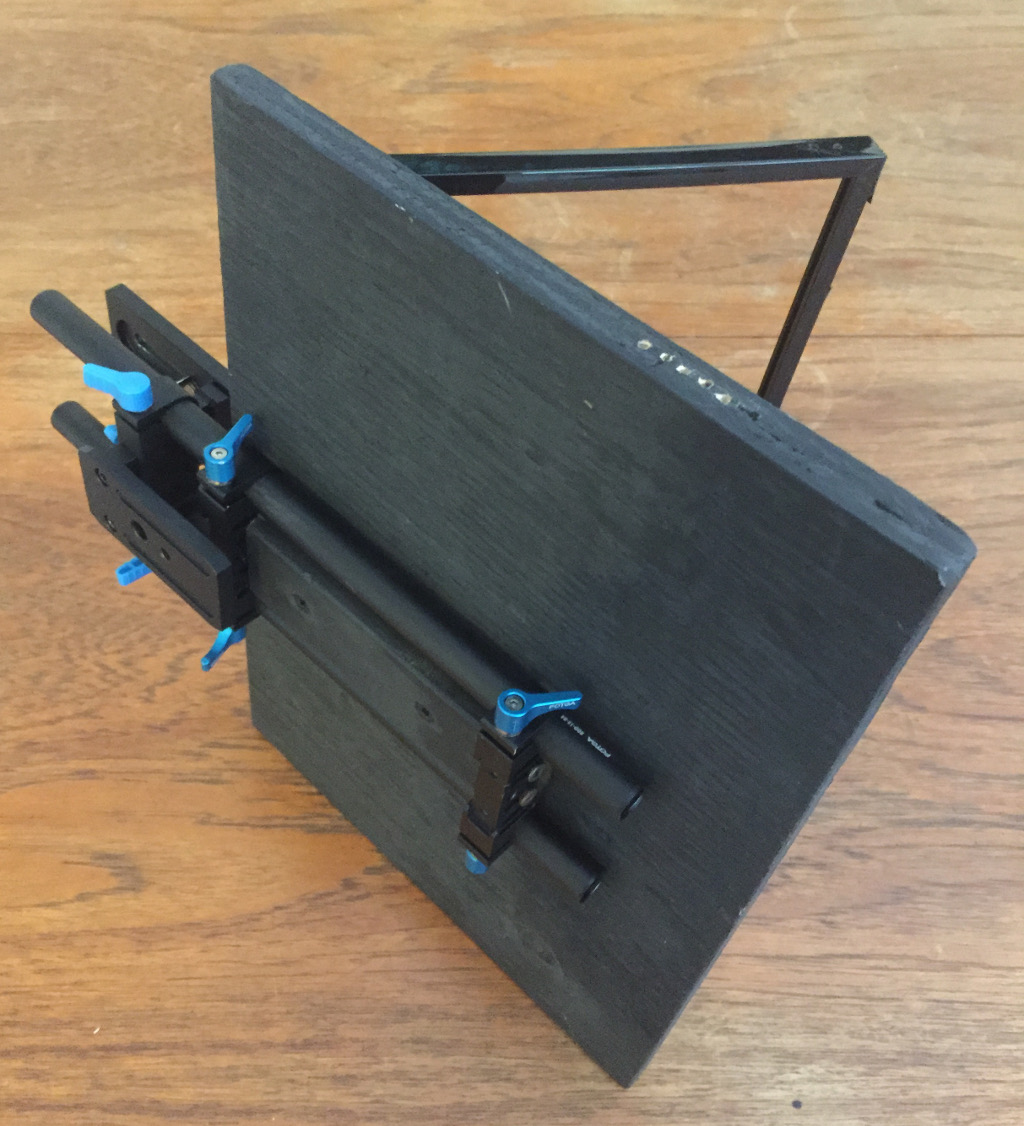
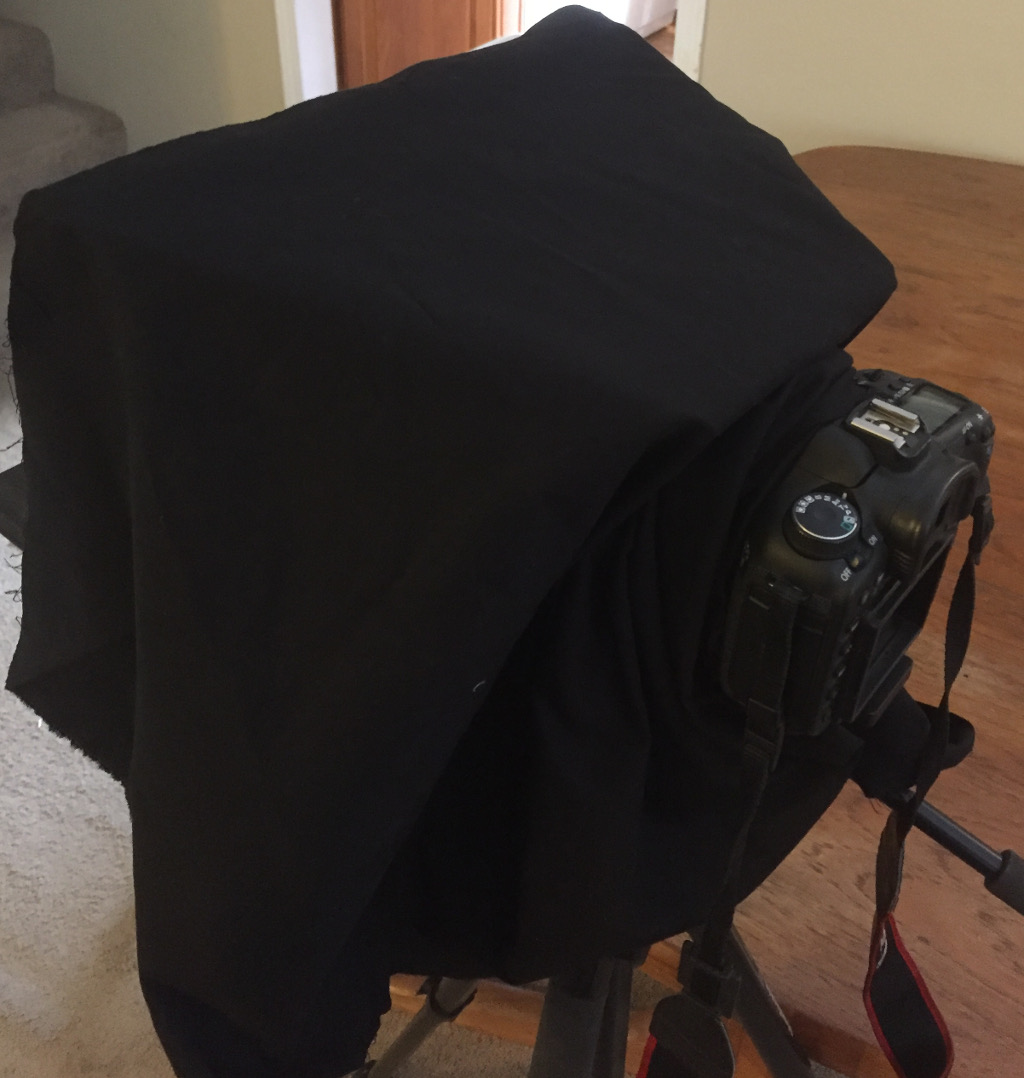
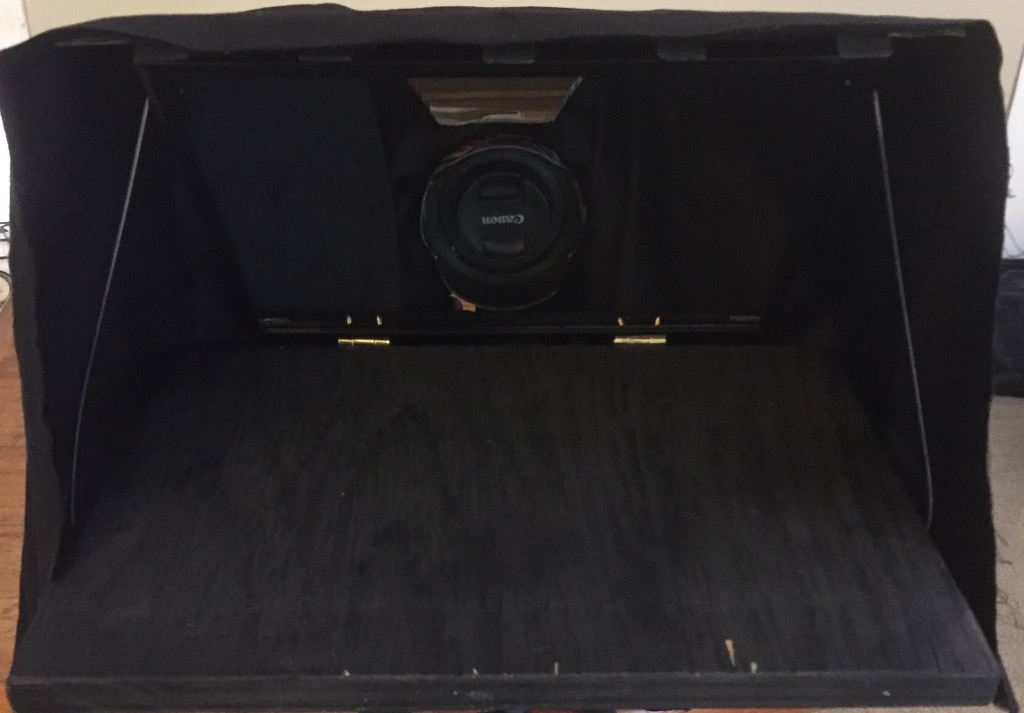
Since I use a script for most videos I also use a teleprompter. Finding the right teleprompter has been a bit of a journey. When first started to formalize my video creation process I used my whole living room as my studio and I used a DIY teleprompter and either a full-sized Android tablet to project my scripts.

This worked great but, the space needed, the setup (20-30) and take downtime (15-20) and the need for an assistant to run the camera and teleprompter limited my options. As the need to create more videos increased I shifted to more of a permanent setup in my small office space.

LR Studio Setup

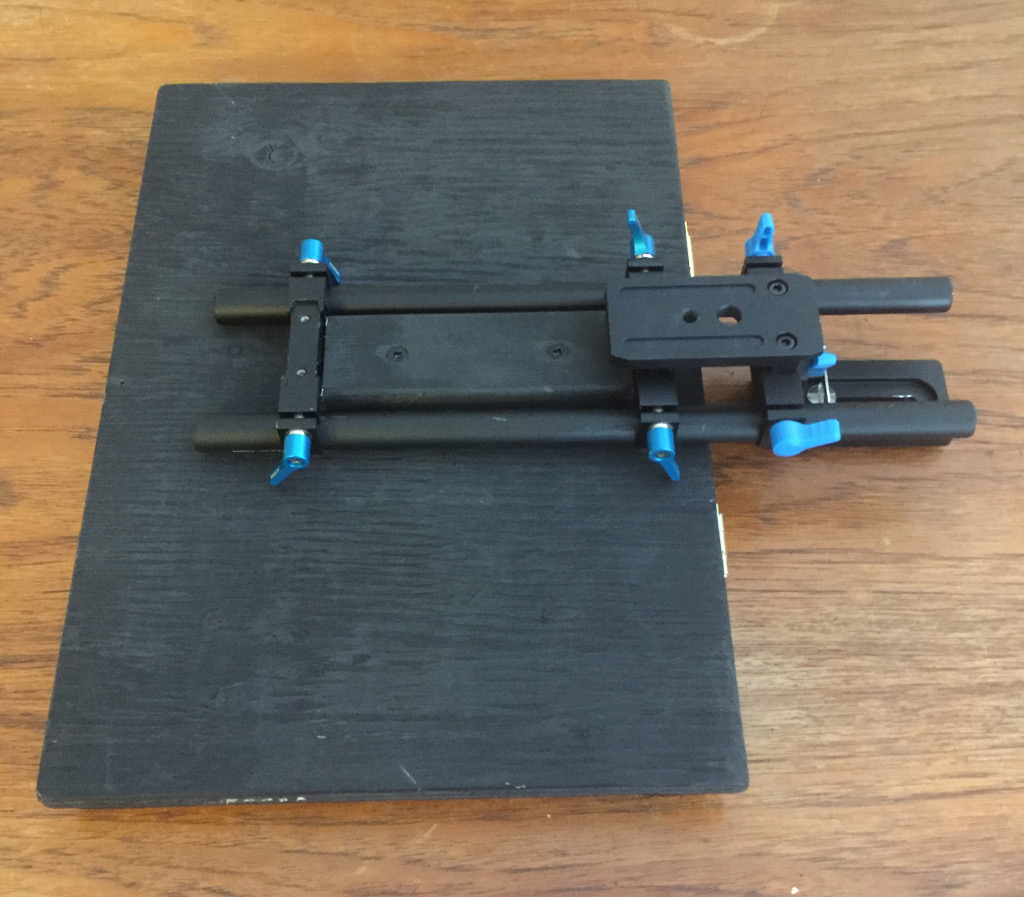
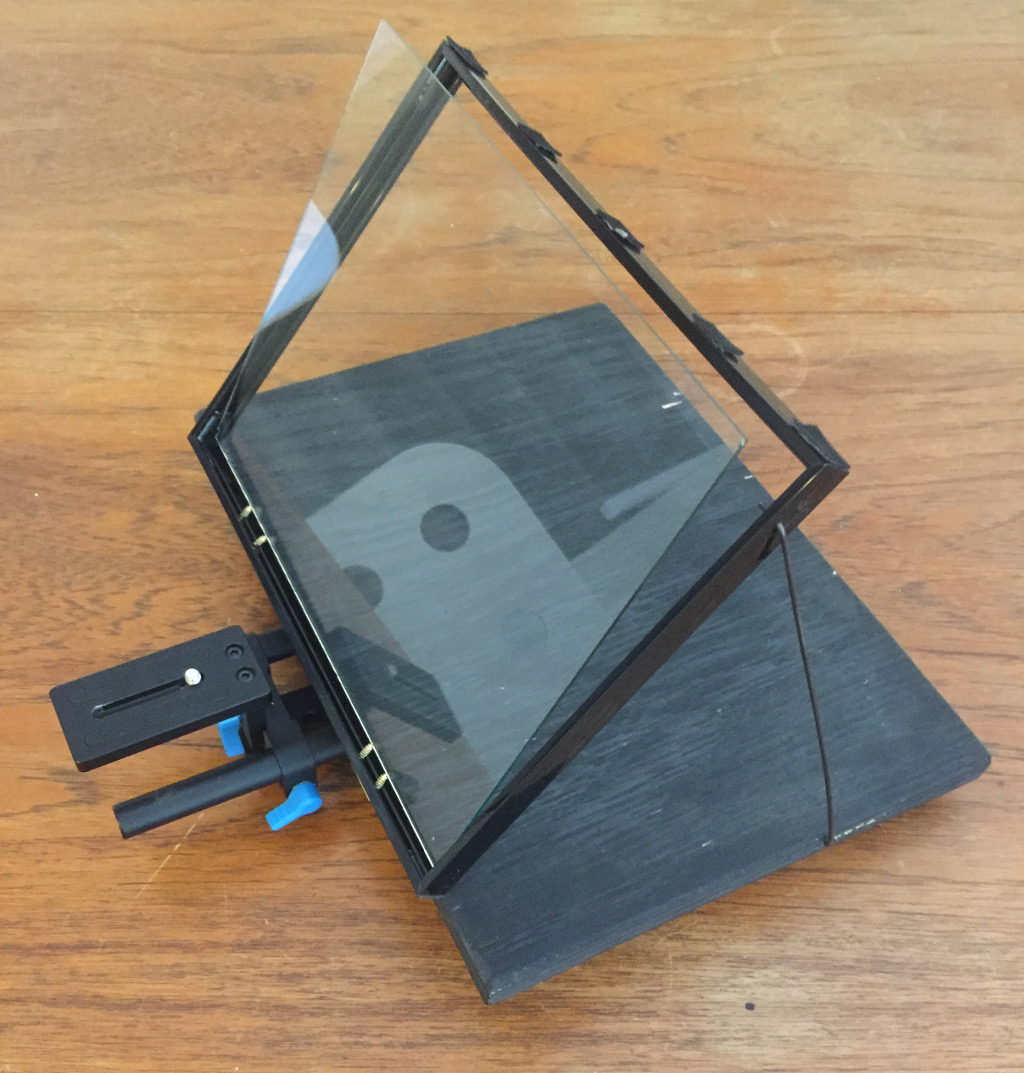
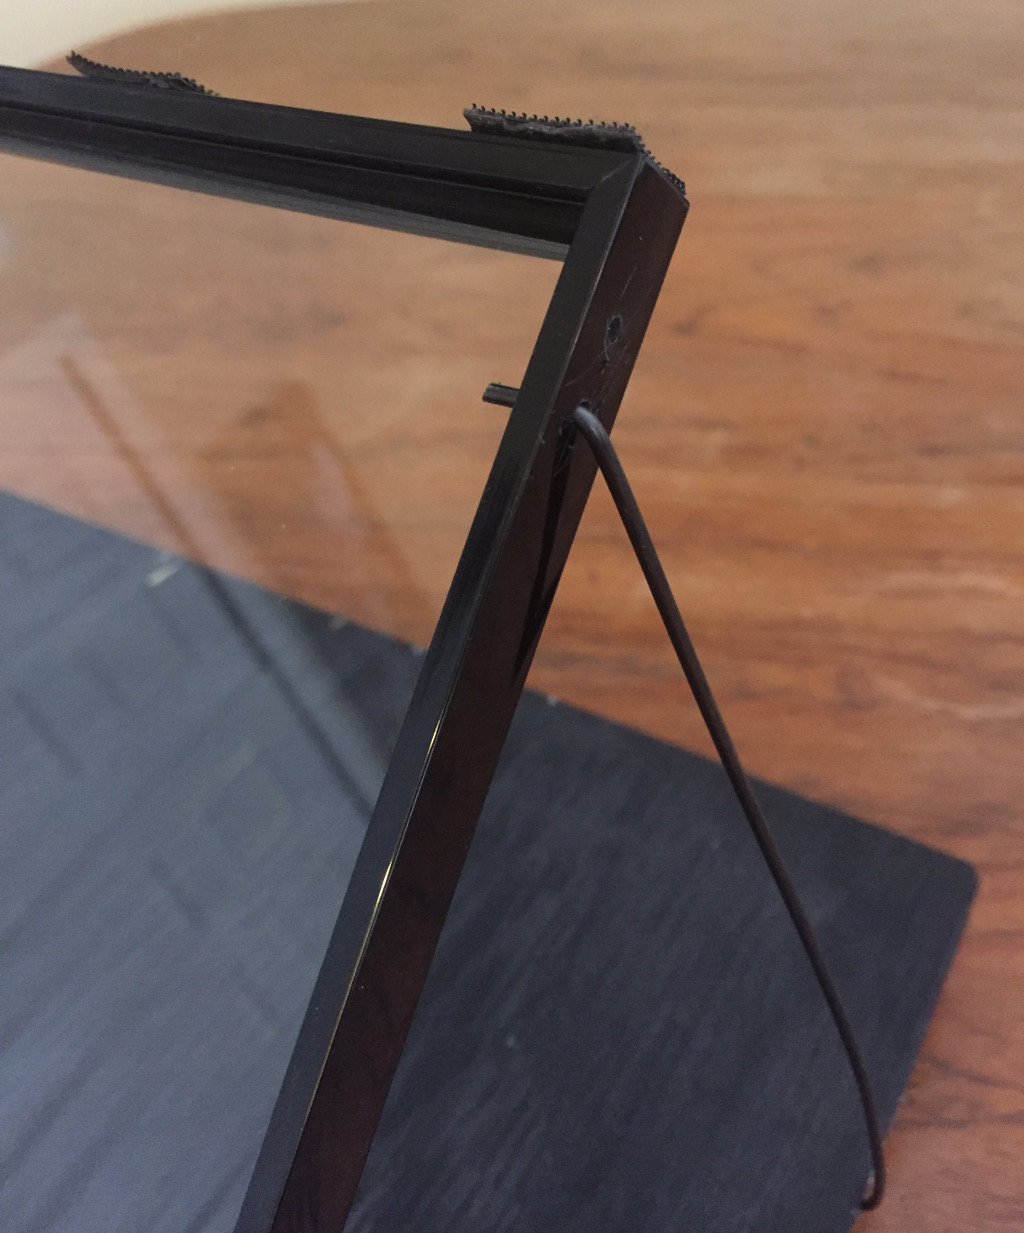
I experimented with a web-based teleprompter CuePrompter. Even after positioning the script directly below my camera I still found that it looked like I was reading because my eyes were not directly focused on the lens of the camera. After researching several lens mounted options I have been using the Parrot Teleprompter from Padcaster.

Parrot Teleprompter

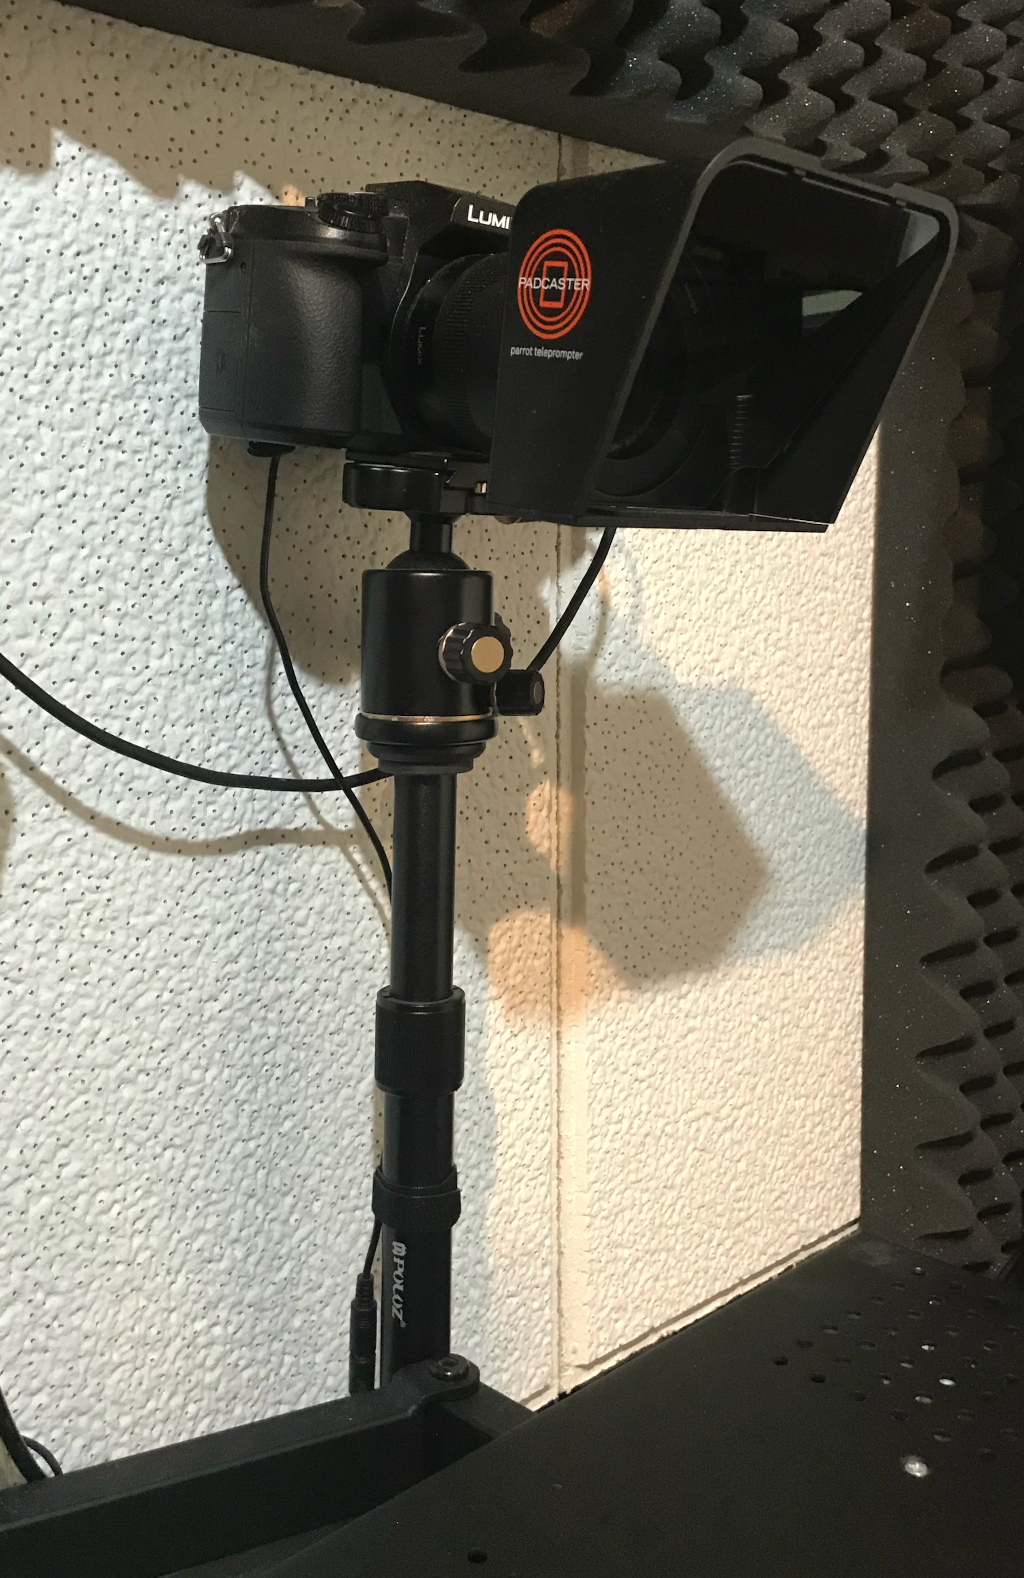
At $100 US or $175 CDN it is a reasonably priced solution that is very simple to set up. You just screw on a mounting bracket to your lens and the teleprompter slides into place. You slide the iPhone into the bottom shelf and you are ready to go in less than a minute.

The plastic teleprompter that mounts on your DSLR lens is great but when you combine it with a voice-activated app that will track your voice and scroll your text as you talk you are at a whole other level of productivity. the SmartPrompt Pro app that I am currently using enables me to stop and start and control the teleprompter as I go through my narration

Because my camera is so close I can reach out and simply scroll the teleprompter script back to the section I want to re-shoot and restart the teleprompter. This lens-mounted teleprompter is one of the last pieces to my video production setup that I wish I would have explored sooner. This is one of many pieces to the video production puzzle that I have been working on over the past few years. While have finally gotten to the point where I can be up and running in just a few minutes there are still many areas of improvement that I am continuing to explore.

Please refer to my DIY Video setup posts for more details on the audio and lighting considerations.

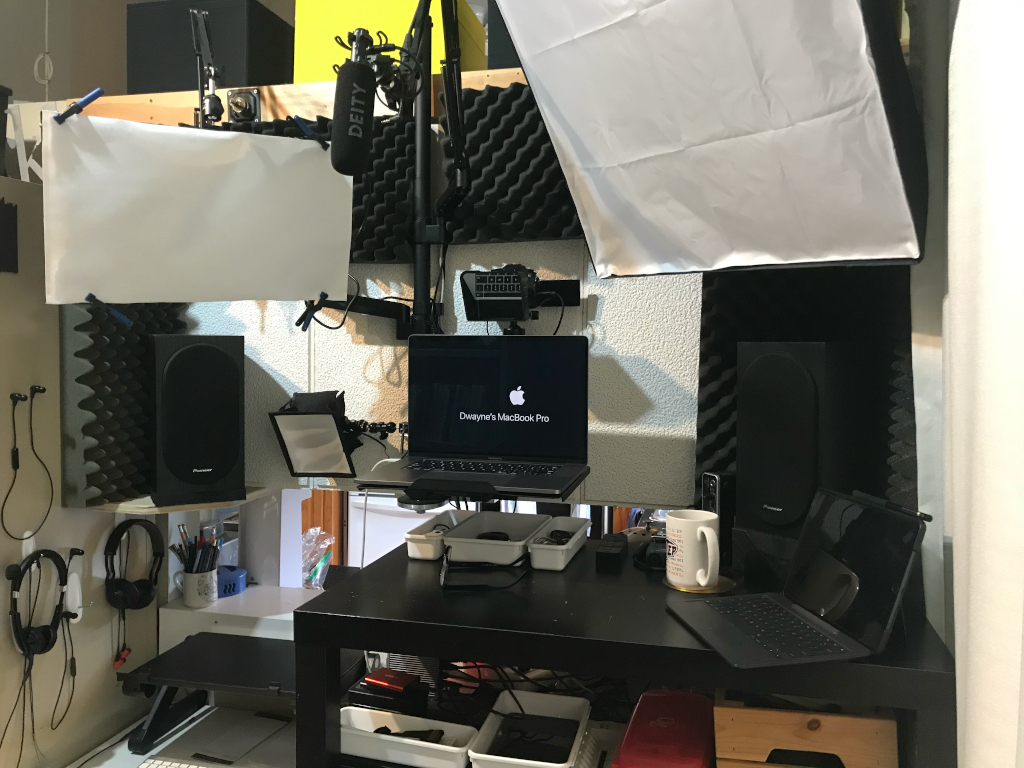
Also, remember that my office setup is very compressed so the limited space that I have to work in is a very important consideration. If you have more space you will have many more options. If you are like many people dealing with the COVID pandemic of 2020/2021 you may be working from home so your space or lack of space will also be a consideration.

Regardless of your situation, I trust these ideas that I have shared will help you become more efficient and effective at creating videos for your instructional setting.

Recommendations:
Voice Over Script Word Counter at thevoicerealm.com
Parrot Teleprompter from Padcaster
SmartPrompt Pro

Dwayne’s DIY Video Setup series:
Dwayne’s DIY Video Setup – Part 5 Audio & Lighting Update
Dwayne’s DIY Video Setup – Part 4 Audio
Dwayne’s DIY Video Setup – Part 3 LED Lighting Update
Dwayne’s DIY Video Setup – Part 2 Lighting & Background
Dwayne’s DIY Video Setup – Part 1 Teleprompter & Tripod
Dwayne’s DIY Video Creation Toolbox
My Video & Media Tools

After a lifetime of engaging in what is commonly referred to as DIY (do it yourself) projects, I knew I was going to have to review the parts list in my DIY Teleprompter project before I could pass on an updated parts list to a colleague. Why? Unlike going to Ikea that will provide not only detailed instructions and all the necessary components for what you need to assemble, DIY projects involve finding a variety of parts that may be used for a variety of purposes and modifying those parts to serve an entirely new purpose. So when I reviewed the 15mm rod support and baseplate system for my DIY teleprompter I quickly learned that it was no longer available from Amazon. My experience of sourcing these types of projects led me to check and see if all the parts were still available. After searching for and exploring a wide assortment of alternatives I realized that the best that I could do is provide a list of parts that I would more than likely use if I were building my DIY Teleprompter from scratch today.

DIY projects by their very nature require exploring and considering a wide assortment of options in order to create or build a project that can address your unique needs. There is no right answer. There is no quick fix. There is only inquiry, exploration, and trial and error. Unfortunately, most people do not have the learner’s mindset that will enable them to do this sort of problem-solving. We quench this type of exploration and experimentation out of our students with a steady diet of recipe and regurgitation followed by standardized testing.

Fortunately, the DIY movement is strong on the Internet and there are a small number of people willing to explore, experiment and find alternative ways to do it themselves. The rebels or mavericks who are willing to look for a better way, a different way, or simply a cheaper way to solve a problem will keep the DIY movement alive. We are also seeing this type of mindset supported through the maker spaces which are taking the place of shop classes of old. We can also help to keep DIY alive by supporting the learner’s mindset that comes out of creating significant learning environments that give learners choice, ownership, and voice through authentic learning opportunities.

The video should give you a relatively good overview of the DIY Teleprompter and how it can be used. The following pictures and brief explanations are intended to augment the video and give you an idea of how you can construct a similar teleprompter. I must warn you that I am not offering a detailed recipe or plan for building your own teleprompter. Why? Over the years I have found that the more detailed plans are the more frustrating they can be when they leave out that key bit of information. I don’t want to frustrate you so I am keeping the instructions general. In addition, I can’t recall a time when I didn’t modify someone else’s plan to fit my unique circumstances. I watched several DIY teleprompter videos and would not recommend any of them individually but I managed to glean bits of information from a variety of different videos. I suggest that after you watch this video and review this page you may want to watch some additional videos on YouTube to make the teleprompter your own.

Teleprompter top view

The teleprompter base is a piece of 1/2 plywood cut to be a bit larger than the 8X10 plastic picture frame which is used to hold the glass. These two parts are connected with a couple simple hinges and the whole assembly is attached to a standard type DSLR rail system

Teleprompter side view

The multiple small holes allow me to adjust the angle of the Teleprompter screen.

Teleprompter rail system

There are many different types of rail systems available and since I wanted to have my camera connected to the teleprompter I needed a system that could allow me to mount the camera to the teleprompter and then mount the whole teleprompter to the tripod. How you connect the rail system to your teleprompter base will depend on the type or style of clamps and rails you purchase and how you intend to fasten the rail system to the base.

Because I wasn’t able to exactly what I was looking for at a reasonable cost I purchased the rod support baseplate, the rails, and the rail clamps separately. When you use a standard DSLR 15mm rail and rod system you can easily mix and match the components. Since the rails that came with the baseplate were not really long enough to handle the weight of the 1/2 inch plywood teleprompter platform, I simply ordered longer 15mm rails. There are so many different types of baseplates, rails, and clamps that you will be able to find what you need to secure the rail system to the teleprompter base if you are willing to experiment.

Side Frame

From this view, you can see the portion of the rail system that the camera will be attached to, the plastic picture frame, the velcro tabs for securing the black dark out cloth, and the spokes which form the support for the picture frame. Please note that there are several holes drilled into the base that allows for adjustment of the frame.

8x10 picture frame

I store the glass when it isn’t on the teleprompter in an old letter sized folio.

Plastic and glass

In order for the teleprompter to work you need a piece of glass that will act as the reflector. Fortunately, you can still get an 8X10 picture frame at Michaels for approximately $10 that uses glass. Be careful, many picture frames are now coming with plastic which is not reflective enough and will not work properly.

Spoke securing glass

The bent spokes that are used to support the picture frame will also hold the glass in place – assuming you drill the holes in the right place. Similarly, if you position your hinges in the right place the screws on the hinges can act as stops to prevent the glass from slipping out.

Camera Mounted

The standard base will accept any DLSR or other cameras with a standard 1/inch connector. If the glass is clean you barely tell that it is even there. The whole teleprompter and camera fit nicely on the Manfrotto tripod with the Fluid pan head.

Side view Camera & Cardboard

A simple piece of cardboard cut into a triangle and folded towards one end is just enough to keep the blackout cloth off the camera lens.

Lens

The fixed focal length 50MM lens is much sharper than the stock wide-angle to standard 18-55MM lens. If you don’t have a standard lens then the stock zoom lens that comes on most camera kits will work fine.

Blackout Cloth

With a few small pieces of velcro, you can fasten a blackout cloth to the top of the teleprompter frame and then wrap the remainder of the cloth around the lens exposing enough of the camera body to use all the controls.

Front Lens View

The lens is positioned so that you are looking directly at it when you are reading the words off the teleprompter.

Android Prompter

I am using Android Prompter because it is free and I happen to have an old Android tablet that is too old to use for anything else. I still haven’t found a fully functional free iPad prompter piece of software so I will be sticking with the Android Prompter software for now.

Teleprompter Software

You will need to adjust Teleprompter software to the right size that you can read and also run at the right speed so that you aren’t talking too fast or too slow. This will require some experimentation to get the size of text and speed of the scroll just right.

When you factor in the hinges, paint, cloth, velcro and all the rail system components I spent less than $75 dollars which is a lot less than the $400+ that you can spend on entry-level commercial systems and have fewer features.

Parts List:

NICEYRIG DSLR Camera Baseplate Switching Kit with 15mm Rod Riser Clamp, Short Rods, Easy Plates Applicable DSLR Camera Cage
SmallRig 15mm Rods Aluminum Alloy 30 cm 12 inch Long for Dslr Camera 15mm Rods System, Pack of 2-1053
SmallRig 15mm Railblock Rod Clamp with 1/4″-20 Thread for Red and Other 15mm DSLR Camera Rig – 2061
1/4 or 3/8 plywood base approximately 12″x12″ (cut to fit your picture frame)
8″X10″ Picture frame with glass
2 spokes or portions of 1 metal coat hanger
1 yard black cloth
Velcro – 9-12″

Dwayne’s DIY Video Setup Series
Dwayne’s DIY Video Setup – Part 1 Teleprompter & Tripod
Dwayne’s DIY Video Setup – Part 2 Lighting & Background
Dwayne’s DIY Video Setup – Part 3 LED Lighting Update
Dwayne’s DIY Video Setup – Part 4 Audio